REVIEW · BIG ISLAND OF HAWAII
Self-Guided GPS Audio E-Bike Tour Hawaii Volcanoes National Park
Book on Viator →Operated by Bikevolcano.com · Bookable on Viator
You bike through Kīlauea’s world on your time. This self-guided e-bike tour pairs a GPS audio app with a route that’s mostly downhill, so you can stop, look, and listen without the stress of a group schedule. I love that you get the bike and helmet ready for you on arrival, plus the narration turns the park’s geology and Hawaiian mythology into something you actually notice while you ride. One thing to plan for: you must bring a fully functioning smartphone with the app working, and audio can drain battery fast.
This is a half-day style adventure, built for people who want to cover a lot of ground but still move at a comfortable pace. You’ll have shade, restrooms, and live staff support before you roll, which makes the whole thing feel much easier than a DIY bike day.
The big practical consideration is riding confidence. Even with electric assist, the company notes it’s not ideal for beginners, since you should be able to steer and shift on paved and gravel sections.
In This Review
- Key things to know before you pedal
- The big idea: e-bike access without the tour bus fatigue
- Price and value: what $159 really buys you
- Getting started at BikeVolcano: the small steps that change everything
- The GPS audio part: awesome when it works, annoying if your phone struggles
- Riding reality check: “easy” doesn’t mean “no skills required”
- Hawaii Volcanoes National Park by e-bike: rim views, fern paths, and volcano heat
- Nahuku Crater and the Thurston Lava Tube: the cool, sensory stop
- Kīlauea Visitor Center: maps, rangers, and the Pele context
- Keanakakoi Crater Overlook: bike/foot-only views you’ll feel lucky to reach
- Weather and comfort at the summit: dress like it’s a cloud with attitude
- Who should book this e-bike tour
- Book or not: my practical call
- FAQ
- How long is the self-guided GPS audio e-bike tour?
- What does the $159 price include?
- Do I need to pay the National Park entrance fee?
- What do I need to bring for the GPS audio tour?
- Is the ride mostly downhill?
- Where does the tour start and end?
Key things to know before you pedal
- GPS audio runs on your phone: bring a charged, working smartphone and plan for battery use
- Mostly downhill routing: the design favors easy rolling rather than a workout grind
- Lava tube + crater views: you combine a short rainforest walk with iconic cave geology
- Exclusive-feeling access by bike: some lookouts are bike/foot-only on this route
- Weather can swing fast at the summit: layers and rain gear matter
- Plan for the park entrance fee: it’s not bundled into the tour price
The big idea: e-bike access without the tour bus fatigue
This tour is built around one smart choice: you ride an electric bike through Hawaii Volcanoes National Park at your own pace, guided by GPS audio. Instead of spending time parking, waiting, and staying with a group, you get a steady plan and then freedom inside it.
That freedom matters here because the park rewards slow attention. You’ll pass steam vents, see crater edges from angles cars can’t easily reach, and have time to stop for photos without feeling guilty.
And because it’s electric, you’re not forced to race uphill to keep up. The whole route is designed to be easy to pedal and comfortable for a half-day.
You can also read our reviews of more tours and experiences in Big Island of Hawaii.


Price and value: what $159 really buys you
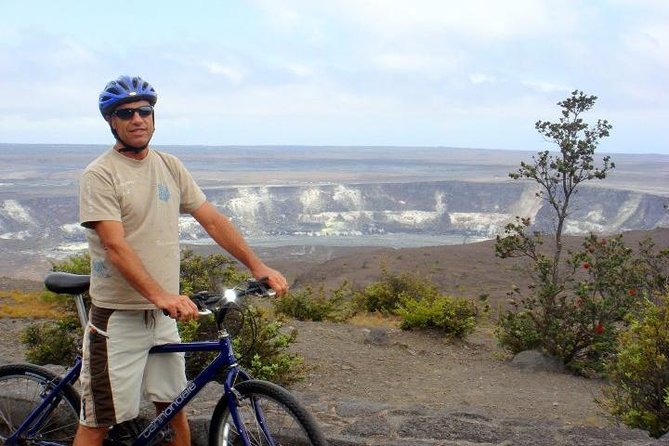
At $159 per person for the self-guided experience, you’re paying for the bike setup, equipment, and the audio-guided route concept. The tour includes an electric comfort hybrid bicycle, helmet, and lock, plus parking/restroom access and live human operator assistance on site.
Two costs can catch people off guard. First, the National Park entrance fee ($15 per person) is not included and is purchased separately online. Second, the operator requires a $1,500 pre-authorized equipment deposit per party, so you’ll want a credit card ready.
On value, I like this deal best when you’re planning to see a lot of the park anyway. If you’d otherwise rent a car, pay for multiple parking searches, and lose time to vehicle access limits, the e-bike format is a practical upgrade.
Getting started at BikeVolcano: the small steps that change everything
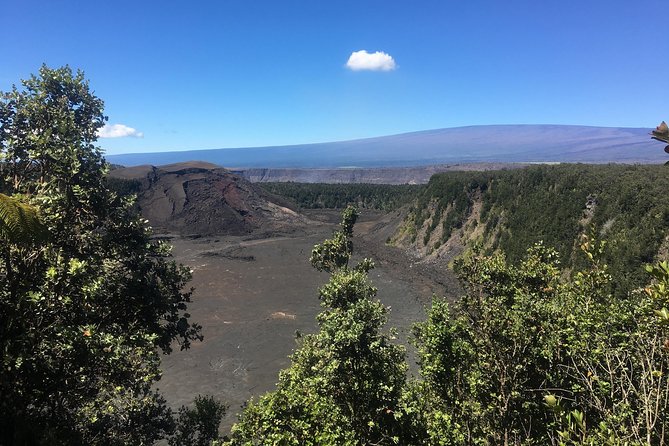
Your tour starts from the BikeVolcano shop area on Old Volcano Rd in Volcano. You’ll pick up your e-bike at the morning or afternoon departure time (9:30 AM or 12:30 PM), and the afternoon option requires at least four riders.
Arrive early enough to get your fit right. One tall rider note is to make sure the staff knows your height so you get the right frame size. That’s not a luxury detail; good fit makes braking, steering, and comfort feel natural fast.
You’ll also get a safety lecture and orientation in a shaded staging area. That’s the moment to double-check your setup: helmet on, bike locked/unlocked properly, and your phone ready to run the GPS audio app.
The GPS audio part: awesome when it works, annoying if your phone struggles
The tour’s main guide is the free GPS audio app. You’ll need a fully charged, functioning smartphone, and the app has a charged-battery expectation in the real world.
A common tip from riders is that the phone can drain quickly, especially when you’re using audio plus navigation. If you have a portable battery, bring it. If you don’t, at least make sure your phone won’t be near empty when you start.
There’s also a technical quirk to know about: some audio points of interest may require you to play commentary separately from another link. It doesn’t ruin the day, but it can add a few taps at the moments you’re trying to relax.
The good news is that the audio content is designed to make the views make sense. You’re not just hearing facts; you’re hearing why each crater, vent, and rock feature matters.
Riding reality check: “easy” doesn’t mean “no skills required”
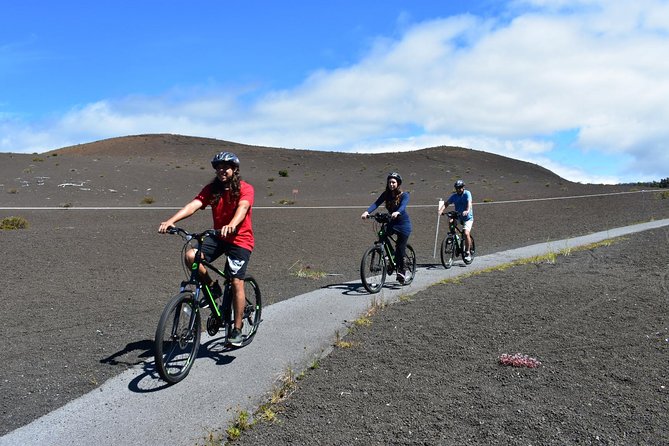
The route is designed so that nearly all roads and paths are downhill, level, and paved. That’s a big deal for comfort, because you’re less likely to turn a scenic ride into a sweaty grind.
Still, the operator specifically warns it’s not recommended for beginner cyclists. You should be able to steer, shift, and balance on gravel as well as paved terrain. If you haven’t ridden a bike with any shifting or you feel uneasy on mixed-surface paths, choose a different tour style.
Physical fitness-wise, you’ll want moderate readiness. In practice, that means you can comfortably handle a multi-hour outing with stops, plus a short cave walk at a steady pace.
And watch the rules: a different review notes park rangers may enforce bike rules and can remind you it’s not allowed on walking trails. So stick to the bike-friendly route you’re given and keep your speed appropriate around any posted areas.

Hawaii Volcanoes National Park by e-bike: rim views, fern paths, and volcano heat
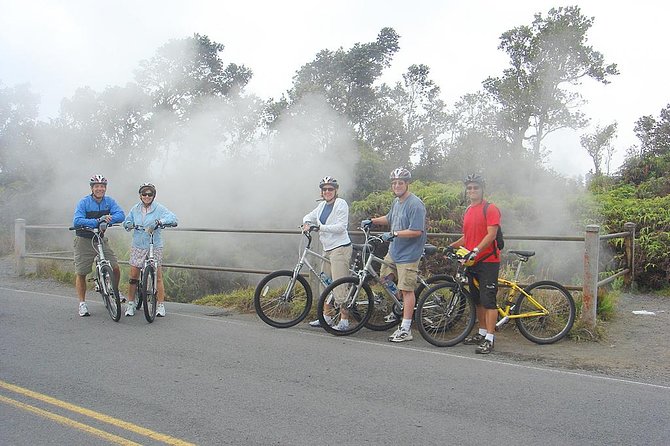
Your ride begins as you travel less than a mile to the park’s bike trail entrance. Then you follow scenic, less-traveled trails along the rim area, where you can pause at crater-edge overlooks that are hard to replicate from a car.
This part of the day is all about variety. You pass through native fern rainforest, and you’ll also feel the park’s energy in the form of steam vents. In other words, you’re not just looking at geology; you’re sensing it.
The route also sets you up for lunch. Volcano House is a key name here, and it’s a popular spot because it gives you crater views while you eat. If you like the idea of ending the ride with a full stomach and a view, plan to treat lunch as part of the experience, not just a break.
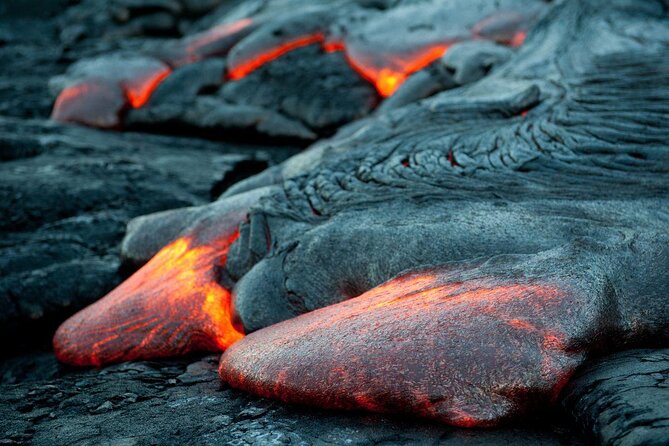
Depending on conditions, there’s even a chance you’ll see active lava flowing into the sea. That’s not something you can bank on, but the tour is structured around the places where lava sightings would be most meaningful.
One extra value point: this setup avoids the chaos of parking at popular lookouts. Instead of hunting for spots and waiting for slow shuttles, you arrive on bike and keep moving.
Nahuku Crater and the Thurston Lava Tube: the cool, sensory stop
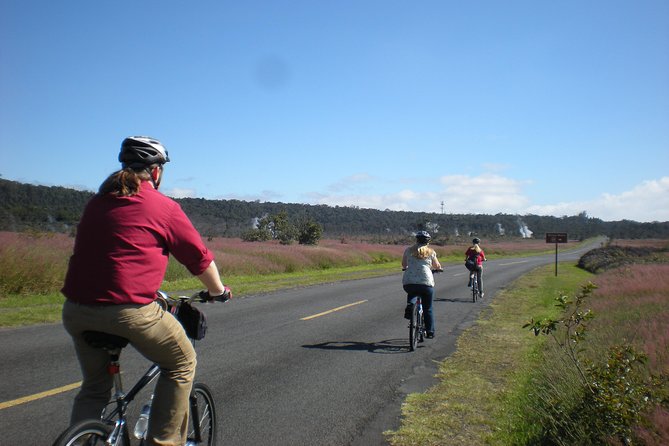
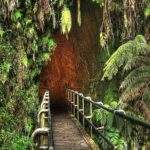
After the main park riding segment, you add a short 15-minute loop hike. It’s shaded and takes you to Nahuku Crater, a pit crater filled with towering native Hawaiian hapu’u ferns and other unique flora.
This is where the tour adds a different kind of pacing. You leave the bike behind briefly and walk into a crater space that feels quieter and cooler. The GPS audio here gives you an ecosystem and cultural context before you step into the lava tube.
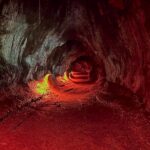
Then you walk through the Thurston Lava Tube itself. This cave experience is all about contrasts: smooth lava-formed walls, cave openings, and the way plants grow around the tube entrances. It’s also visually photographic, so I’d keep your camera ready even if you’re not the serious photographer type.
The audio guidance is timed to the walk, so you’re not just wandering in the dark corners wondering what you’re looking at. You’re getting guided meaning as you move.
Kīlauea Visitor Center: maps, rangers, and the Pele context
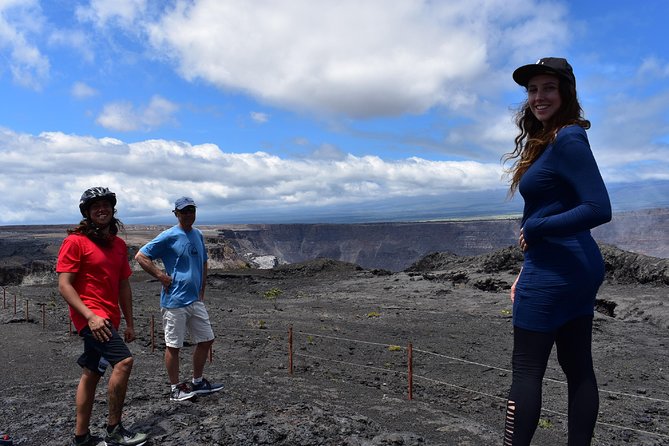
A short stop at the Kīlauea Visitor Center helps you connect the dots. The exhibits cover geology, native wildlife, and Hawaiian cultural heritage tied to Pele, the volcano goddess.
Even if you already read up before you go, this is the kind of place that makes the next view click. It also gives you a chance to ask park rangers questions and get safety updates or advice on what to prioritize inside the park.
There’s also a bookstore and gift shop for educational materials and local crafts. It’s a nice way to turn what you saw into something you can remember at home.
Keanakakoi Crater Overlook: bike/foot-only views you’ll feel lucky to reach
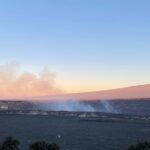
This is one of the most special parts of the day because the access is limited. Keanakakoi Crater Overlook is reachable by bike or foot on this self-guided route, which means you’re working with a different access reality than typical car sightseeing.
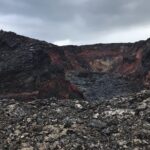
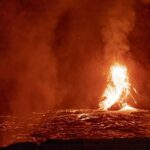
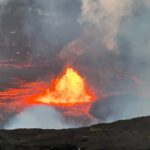
The view centers on Halemaʻumaʻu Crater, a sacred area tied to Madame Pele. And on days when conditions allow, you may see lava fountains reaching over 1,000 feet high.
What I like about this stop is that it’s not just one viewpoint. Riders pass along a roughly 2-mile bike trail lined with koa and ʻōhiʻa forests, and then you get rewarded with a dramatic crater angle.
From here, you’re also set up for the lava viewing area that’s described as the best place for close-up lava lake views across the way. If you’re hoping to see lava activity from multiple angles, this is the portion of the day that can make you feel like you outsmarted the parking lot.
Weather and comfort at the summit: dress like it’s a cloud with attitude
Even on a good weather day, conditions at Kīlauea’s summit can shift. The operator notes the weather can be wet, windy, and misty at any time in the year, and temperatures at the summit can be about 12 to 15 degrees cooler than sea level.
So the packing advice is not generic. Wear layered clothing so you can peel a layer when you’re warm and add it when you stop. Closed-toe shoes are required, and you’ll want a hat, sunglasses, and sunscreen.
If you forget a rain jacket, you can buy one at the Kilauea General Store. Water is also available there, and the tour area includes bottled water purchase options.
The key comfort tip: expect you’ll be outside for hours. Dry feet and warm fingers are the difference between a fun day and a cold, grumpy one.
Who should book this e-bike tour
This is a strong fit for you if you want to see Hawaii Volcanoes National Park in a way that feels more personal than a coach tour. You’ll like it if you value pacing control, fewer crowds, and getting to viewpoints that cars can’t easily reach.
It’s also good for mixed groups—families, couples, multi-generation trips—because electric assist helps smooth out differences in riding effort. You’re given a park-ready setup: helmet, lock, orientation, plus restroom access and parking.
That said, skip it if any of these apply:
- You’re a brand-new cyclist and don’t feel steady steering and balancing on mixed surfaces
- You’re under 15 years old or over 270 lbs (the operator says it’s not available for those ranges)
- You don’t have a functioning smartphone for the GPS audio app
Book or not: my practical call
I’d book this tour if you want the best mix of freedom and structure. The GPS audio makes the volcanic features understandable while the e-bike format keeps the day from becoming exhausting.
You should also book it if you hate the classic national park rhythm of circling for parking and rushing through viewpoints. Here, the bike removes a lot of that friction, and you get to spend your time looking instead of waiting.
If you’re unsure, decide based on one thing: your phone situation. If your smartphone battery and app setup are solid, this tour can feel like a smarter, calmer way to see Volcanoes National Park. If your phone is unreliable, bring a backup power source and plan extra time for setup.
FAQ
How long is the self-guided GPS audio e-bike tour?
It runs about 4 hours 30 minutes total, with the main ride taking about 3 hours plus shorter guided walk and viewing stops.
What does the $159 price include?
You get an electric comfort hybrid bicycle, helmet, and lock, plus parking and restroom access, a shaded staging area for orientation and safety talk, the free GPS audio app, and live human operator assistance.
Do I need to pay the National Park entrance fee?
Yes. The National Park entrance fee is not included and is listed as $15.00 per person, available to purchase online.
What do I need to bring for the GPS audio tour?
You need a fully functioning smartphone to use the GPS audio app, and it should be fully charged. The tour also advises layered clothing, closed-toe shoes, sunglasses, sunscreen, and a hat.
Is the ride mostly downhill?
The tour is designed so that nearly all roads and paths are downhill, level, and paved, making it easier to ride at a relaxed pace.
Where does the tour start and end?
The tour starts at the Bike Volcano address on Old Volcano Rd in Volcano and ends back at the same meeting point.