REVIEW · PALM SPRINGS
Private 1-Hour Archery Session Near Joshua Tree National Park
Book on Viator →Operated by Joshua Tree Tours and Experiences, LLC · Bookable on Viator
One hour with a bow and target. That’s the whole idea here, and it’s a great way to slow down in the Joshua Tree area while learning real archery basics. I like how the session is set up for beginners—starting at 20 feet—and how you can work your way back as your confidence grows. You’ll also get the relaxing rhythm of a private practice space with an instructor staying close at the start.
What I really like is that everything is handled for you: bows, arrows, targets, and the safety gear you need to feel comfortable. The second big win is choice and pacing: you’ll pick a comfortable shooting distance between 20 and 100 feet, and you can upgrade to a more advanced bow if you’re ready. One consideration: it can get hot, and the setup offers little shade, so bring water and sun protection.
If you’re coming to Joshua Tree to do something different besides hiking, this is a fun, low-stress skill session that still feels legit.
In This Review
- Key Things to Know Before You Go
- First Stop: Getting Oriented at the Joshua Tree Range
- The 10-Minute Demo That Makes the Hour Work
- Shooting Your First Arrows: 20 Feet Feels Easier for a Reason
- Moving Back to 100 Feet (Without Losing the Calm)
- About the Bow: Beginner Archery With an Upgrade Option
- The Best Part: It’s Private, So You Can Take Your Time
- What You’ll Miss If You Skip Sun Prep
- Timing: How an Hour Can Still Feel Worth It
- Price and Value: Why This Feels Fair at $28
- Small Friction Points to Keep in Mind
- Who This Is Perfect For (and Who Should Rethink It)
- Should You Book This Joshua Tree Archery Session?
- FAQ
- How long is the archery session?
- What shooting distances can I choose?
- Is equipment and safety gear included?
- Is this activity private?
- What language is the session offered in?
- Can I get a full refund if plans change?
Key Things to Know Before You Go
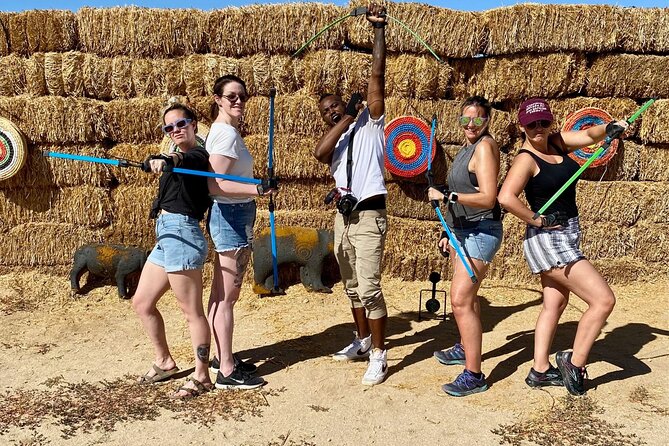
- Beginner setup in a dry, open range area: you start easy and build skill step by step
- Distance flexibility from 20 to 100 feet: move back in increments as you get accurate
- Safety gear included: protective hand gear plus an instructor demo for how to shoot
- Private session means more attention to your pace: only your group shoots and learns
- You can stay with the basics—or level up: advanced bow upgrade is available when you’re ready
- Heat matters: bring water, hat, and a plan for staying comfortable
First Stop: Getting Oriented at the Joshua Tree Range
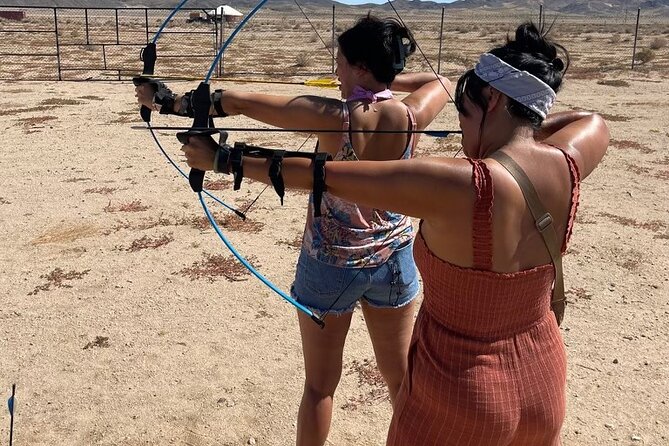
This session starts in Joshua Tree, and it runs back to the same meeting point when you’re done—so you’re not juggling extra stops or transit after you’re sweaty and excited. You’ll meet the instructor at the archery range where the lesson begins right away.
The range itself is in a dry, open shooting area, and that’s part of the appeal. You get that desert quiet, with the focus on simple, repeatable practice rather than a busy venue.
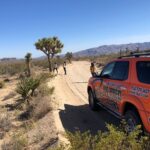
Do expect directions to be a little tricky. Some access points or gates may not look obvious, and the spot can feel remote once you’re on the dirt-road approach. The good news: once you find the entrance, the experience is set up for you and the gear is ready.
You can also read our reviews of more tours and experiences in Palm Springs.

The 10-Minute Demo That Makes the Hour Work
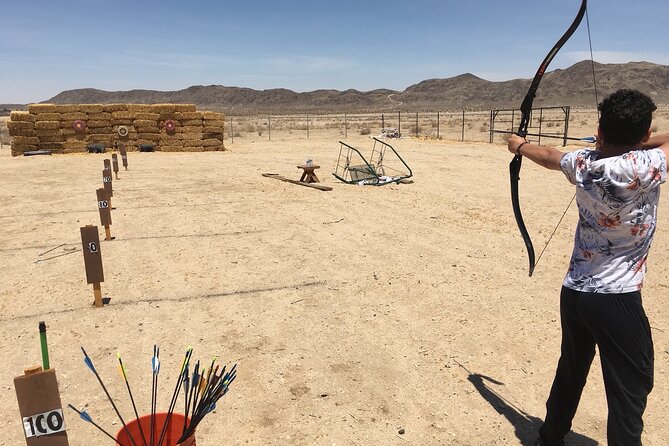
Before you start shooting, the instructor demonstrates key basics: how to hold the bow, how to aim, and how to shoot safely at the targets. This matters more than you might think, because archery is one of those sports where the wrong grip or stance can mess up everything—even if you’re trying really hard.
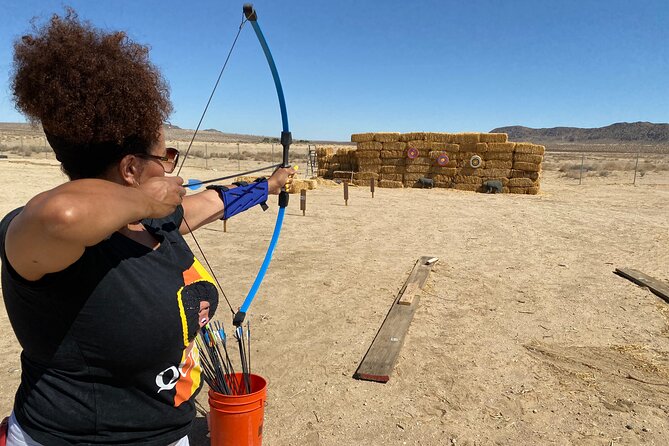
You’ll then get your own bow and a bucket of arrows. Protective hand gear is provided, so you’re not improvising with kitchen gloves and hoping for the best.
The instructor stays with you until you feel comfortable. That period is where most people get their first real wins—like getting consistent arrow flights instead of just launching chaos.
Shooting Your First Arrows: 20 Feet Feels Easier for a Reason
You start at 20 feet, which is exactly what you want for a first try. Shorter distance means you can learn how the bow feels and how your aiming line matches where the arrow actually goes.
You’ll shoot at targets while the instructor checks your form and answers questions. Then, once you’re getting the hang of it, you can move back in increments—rather than jumping straight to a distance that punishes beginners.
For most people, this is where the fun kicks in. Hitting a bullseye even once can flip archery from scary to addictive. And if you’re a group, it’s also a great way to laugh at your own attempts while still feeling like you’re improving.
Moving Back to 100 Feet (Without Losing the Calm)
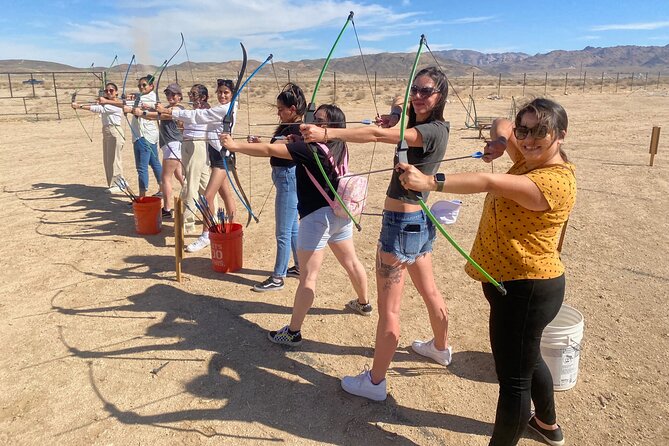
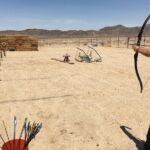
The targets are set up along the archery range, with the furthest marker at 100 feet. The session is designed so you choose your comfort level, not the other way around. That means you can go one step farther when you’re ready, or stay closer if your goal is accuracy and confidence.
This is a smart way to structure a beginner lesson. Long distance looks impressive, but it’s not the goal at first. The goal is learning the mechanics—stance, grip, draw, aim, release—so your arrows behave like they belong on the same planet as the target.
If you feel like getting more challenge, you can. But if you’d rather keep it mellow, you can keep shooting at the distance you like and just enjoy the practice.
About the Bow: Beginner Archery With an Upgrade Option
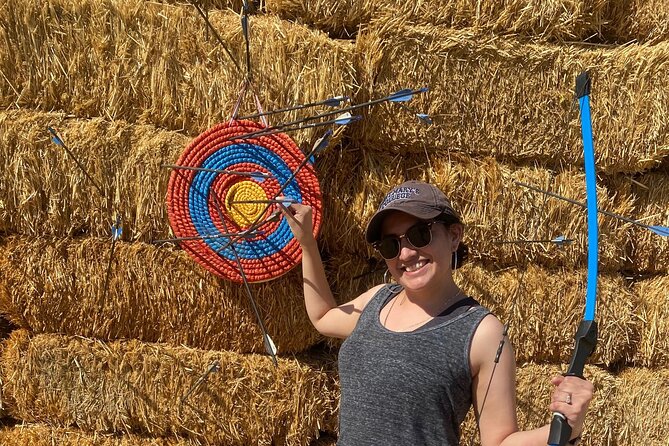
You’ll use the provided bows and arrows for the session. As your skill improves, there’s an option to upgrade to a more advanced bow.
That upgrade matters for people who don’t want the session to feel like a toy. The first hour often gives you enough clarity to know what you want to work on next—draw feel, aiming steadiness, and consistency—and then an upgraded bow can match that ambition.
If you’re just visiting and want a one-and-done activity, you don’t need to think about this. If you’re the type who might come back for a second try later, the upgrade option is a nice touch.

The Best Part: It’s Private, So You Can Take Your Time
This is a private tour/activity, meaning only your group participates. That sounds like a marketing line, but in practice it changes the vibe.
You don’t wait your turn for someone else to finish, and you’re not trying to learn while a crowd buzzes around you. Instead, you get a calmer, more focused session where the instructor can work at your pace.
For couples, it’s great because you can encourage each other without the stress of other people watching every miss. For families, it’s a straightforward way to do something hands-on that doesn’t require athletic training—just attention and patience.
What You’ll Miss If You Skip Sun Prep
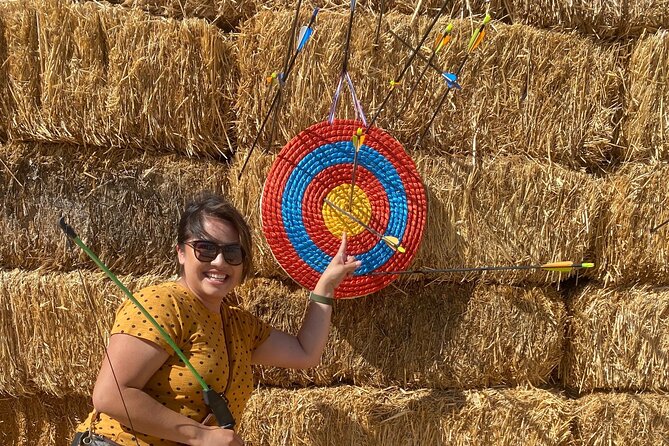
Here’s the practical reality: you’ll be outside, and some parts of the range don’t offer much shade. People often feel the heat more than they expect.
Plan on this like you’d plan for a Joshua Tree hike: bring plenty of water, wear a hat, and use sunscreen. If you’re taking breaks between shots, having something to sit in the sun protection-wise can help a lot.
Also note: wind can affect archery. If it’s windy, you might find it harder to get consistent shots, and you’ll spend more time adjusting than practicing your form.
Timing: How an Hour Can Still Feel Worth It
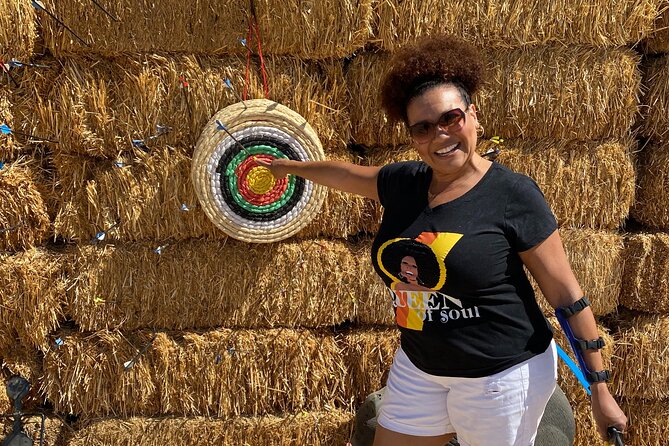
The session runs about one hour. That’s short enough that you can fit it between other activities without stressing your schedule, but long enough to learn the basics, try distances, and get a few real improvements.
It’s not rushed instruction where you’re only taught enough to embarrass yourself and then sent away. The instructor teaches, gets you moving, then lets you practice at your own pace while staying available.
If you’re coordinating a busy day, I’d treat this as a fun skill stop rather than a main event that must be perfectly timed. You’ll still want to arrive on time so you can start your lesson cleanly and not lose shooting minutes.
Price and Value: Why This Feels Fair at $28
At $28 per person for a private, instructor-led session, the value is in what’s included: gear, targets, a range setup, and human coaching. A lot of activities charge extra just to access equipment or a basic safety rundown.
Here, the cost covers the parts that actually make beginners succeed—setup, instruction, and an experience design that moves you from 20 feet toward 100 feet only when you’re ready. That pacing makes the hour feel productive instead of random.
If you’re comparing it to a paid activity where you mostly watch or wait, this one puts you in the action quickly. And because it’s private, the “what you pay for” is clearer.
If you’re on a tight budget, the $28 price point is one of the easier wins for a Joshua Tree day. If you’re splurging, you’re still getting a real skill activity, not a souvenir photo moment.
Small Friction Points to Keep in Mind
No experience is perfect, and a few practical issues come up often enough to mention.
- Directions and access: the location can feel remote and confusing at first glance. If you’re driving, take your time and follow the directions closely.
- Heat and shade: bring sun protection and water. Don’t rely on the environment to keep you comfortable.
- Instructor engagement level: most sessions focus on safety and basics, then let you practice. If you’re hoping for lots of structured games or competitions, you might not get that beyond optional suggestions.
- Equipment condition: bows and arrows are provided, but on some days you may notice an arrow that feels off. If that happens, tell the instructor and swap as needed.
None of these are deal-breakers for a beginner lesson. They’re just the realities of shooting outdoors and learning a physical skill for the first time.
Who This Is Perfect For (and Who Should Rethink It)
This experience fits best if you want a beginner-friendly activity with real instruction and gear included. You’ll likely enjoy it if you’re comfortable trying something new and you want an hour where you can measure progress by your own accuracy.
It’s also a solid choice for groups who want team bonding without intense competition. The shared moment of aiming, shooting, and adjusting makes it easy to laugh together while actually learning something.
If you’re an experienced archer, you might find the session short or basic. You may still enjoy the range time and the desert setting, but it won’t be a deep technical coaching session based on the structure described.
Should You Book This Joshua Tree Archery Session?
Book it if you want a low-pressure, hands-on skill start with safety gear included, a clear beginner progression, and the option to shoot farther once you can. It’s also a nice pick when you’re looking for something different from hiking—an activity that’s fun even if you’re not super outdoorsy.
Skip it or plan differently if hot weather is a big issue for you or if you need lots of shade and constant entertainment during the whole hour. Also consider your expectations for coaching depth: it’s built to teach the basics and then let you practice.
If you’re curious about archery and want to try it near Joshua Tree without buying equipment, this is a fair, straightforward way to do it.
FAQ
How long is the archery session?
It lasts about 1 hour.
What shooting distances can I choose?
You start at 20 feet and can move back in increments, with markers available up to 100 feet.
Is equipment and safety gear included?
Yes. Bows, arrows, the archery range, targets, and an instructor are included, along with protective hand gear.
Is this activity private?
Yes. It’s a private tour/activity, and only your group participates.
What language is the session offered in?
The experience is offered in English.
Can I get a full refund if plans change?
Yes. You can cancel up to 24 hours in advance for a full refund. If you cancel less than 24 hours before the start time, the amount paid is not refunded.