REVIEW · SEATTLE
Small-group Mt. St. Helen National Park Tour from Seattle in SUV
Book on Viator →Operated by BARBIL TOURS · Bookable on Viator
Volcano views in an 8–10 hour day plan. What I like most is the max 5-person SUV feel and the way the stops focus on real geology, not just lookouts. You’re also set up for a smoother day with pickup in the Seattle area and tickets bundled for key visitor centers.
One thing to plan around: this tour depends on good conditions. If weather rolls in, visibility from the viewpoints and trails can change fast.
In This Review
- Key things to know before you go
- A Seattle SUV Day Trip To a Still-Active Volcano
- Johnston Ridge Visitor Center: Live Seismograph and the May 18 Story
- Coldwater Ridge Visitor Center: Big Views, Free Access, Quick Reset
- Eruption Trail From Johnston Ridge: Under a Mile, 360 Views
- Coldwater Lake: The Calm Ending (And the Wristband Tip)
- Guides and Pace: The Human Side of a Small Group Tour
- Price and What You’re Really Paying For
- Who This Tour Is Best For (And Who Should Pick Another Option)
- Should You Book This Small-Group Mt. St. Helens Tour?
- FAQ
- How long is the Mount St. Helens tour from Seattle?
- What is the group size?
- Is pickup available in Seattle?
- Are admission tickets included?
- Do I need a wristband at Coldwater Lake?
- What happens if the weather is poor?
Key things to know before you go
- Max 5 travelers in an SUV keeps the day flexible and less crowded than big buses
- Johnston Ridge Visitor Center has a live seismograph feed and a May 18, 1980 timeline
- Paved Eruption Trail is under one mile and designed to be barrier-free from the Johnston Ridge area
- Some stops are ticketed, some are free so you should understand what you’re paying for
- Coldwater Lake requires a wristband as proof for trails and monument access
A Seattle SUV Day Trip To a Still-Active Volcano
This is a long day in a good way. You’ll be in a car for a big chunk of the 8–10 hours, but the payoff is time-efficient access to the main Mount St. Helens spots—without you having to figure out driving, parking, and what to prioritize.
The format is small-group by design. With up to five people, you can move at a human pace and still cover multiple stops: learning centers, a short walk, and a calmer lake finish. Most days start with pickup in the Seattle area, and the company sends your approximate pickup location and time by text.
You’ll want to pack for a “road trip + outdoors” day. Even if you keep your walk short, you’re going to stand still at overlooks and take in views through windy, changing air. If you’re even mildly car-sick, I’d bring your usual remedy—some people are more sensitive to long drives than they expect.
You can also read our reviews of more tours and experiences in Seattle.

Johnston Ridge Visitor Center: Live Seismograph and the May 18 Story
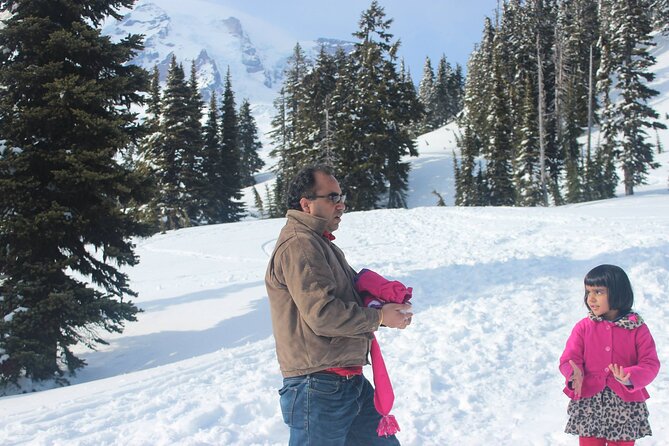
This is the anchor stop. The schedule gives you time to arrive, orient yourself, and understand what you’re seeing before you head out for the views.
Inside the Mount St. Helens Visitor Center, you’ll find:
- A large step-in model of the volcano
- Life-size mannequins showing what the area looked like and how events unfolded
- A functioning seismograph plus a live feed showing the volcano’s current seismic activity
- A chronological timeline that walks through the events leading up to the May 18, 1980 eruption
- A theater program that runs twice each hour, at :05 and :35 past
Why I think this matters: the volcano isn’t just a photo subject. When you see the timeline and watch the seismograph live feed, the day starts to feel less like sightseeing and more like real-world science you can track. You’re not guessing about what the blast zone means—you’re given the story first.
Also plan a little timing sense for the theater. If you arrive around :05 or :35, you can catch a show without losing too much time. If you miss it, you still get plenty from the models, timeline, and the rest of the exhibits.
Outside, there’s the Silver Lake trail: about 0.6 miles with boardwalks over wetlands. Depending on the time of year, you may spot aquatic plants and migratory waterfowl. It’s an easy add-on that breaks up the drive and lets you feel the damp, quiet ecosystem right near the visitor center.
Possible drawback: the day is timed tightly, and this stop includes a lot. If you’re someone who gets impatient with indoor exhibits, you’ll still want at least enough time to do the model + timeline so the later viewpoints click.
Coldwater Ridge Visitor Center: Big Views, Free Access, Quick Reset
After the first learning stop, the tour brings you to Coldwater Ridge Visitor Center for about an hour. This one is free admission, which makes it a nice value break in the day.
Coldwater Ridge is set up for views of Mount St. Helens and convenient access to Coldwater Lake. The building sits along State Hwy 504 and was built in 1993, with over 24,600 sq. ft. across two floors.
Why it’s worth a stop even if you’re eager to get outside: this is where you can connect the wide-open scenery to what you learned earlier. You’ll be able to look out, take a breath, and then decide how much time you want to spend near Coldwater Lake during the later side-trip.
One practical note: because this stop is shorter, you’ll get more out of it if you treat it like orientation. Pop in for views, grab restrooms, and then you’re ready for the next main event.
Eruption Trail From Johnston Ridge: Under a Mile, 360 Views
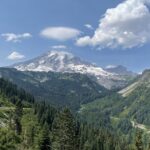
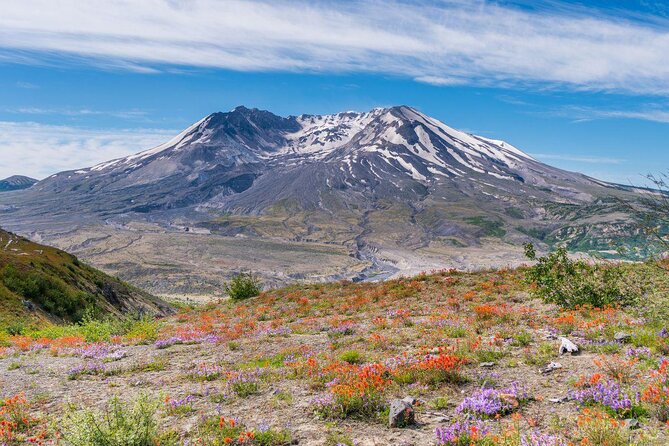
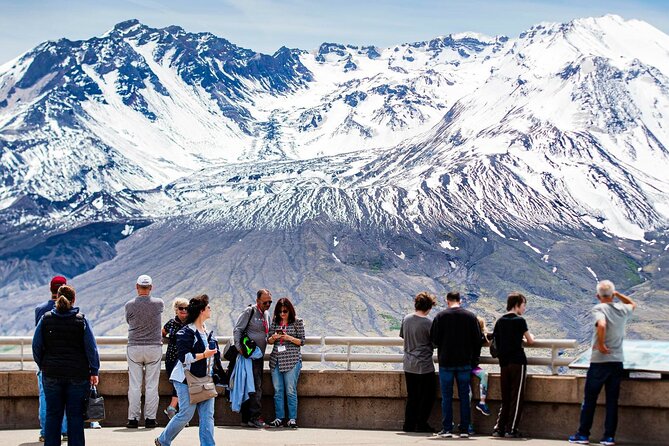
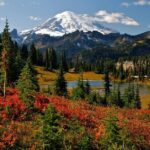
This is the hike highlight for many people because it’s barrier-free and stays under one mile. It’s a paved walk from the Johnston Ridge Observatory area, with interpretive kiosks along the way and 360-degree views of Mount St. Helens and the surrounding blast zone.
Think of it as the sweet spot: you don’t need a long hike to get the “wow” factor. The paved path also makes it a better choice if you want scenery without turning the day into a workout.
Interpretive kiosks matter here too. They’re not just signage; they help you read what you’re seeing on the ground and connect it back to the eruption story you just learned at the visitor center. When you stand in that blast zone, the timeline makes more sense.
One consideration: the tour can’t guarantee that every specific viewpoint angle will be available to every visitor, especially if you were hoping for access right at the observatory structures. If accessibility or a particular crater-facing angle is your top priority, it’s smart to ask ahead which portions of the Johnston Ridge area are easiest to reach and what the best photo/view options are from the paved trail route.
Coldwater Lake: The Calm Ending (And the Wristband Tip)
By the time you get to Coldwater Lake, you’ve done the geology part and the short hike part. This stop is your reset button.
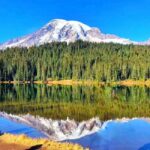
Coldwater Lake formed from an avalanche during the volcano’s eruption, and the tour gives you a quick side-trip to see it. You’ll park near the lake with paths leading out to the water. There are restrooms, a boat launch (electric motors only), and trails around the lake.
Here’s the detail that can actually matter: you’re instructed not to throw away your wristband. You’ll need it as proof you’ve paid to visit or hike areas inside the Mount St. Helens National Volcanic Monument. That’s the kind of thing that’s easy to forget when you’re focused on pictures, so keep it on until you’re completely done with monument trails.
Why I like this as a finish: the lake gives you contrast. After looking at eruption-scale change and blast-zone views, Coldwater Lake feels quiet and human-paced. Even if you only walk the closest paths, you get that sense of being near something powerful that also supports a calmer natural world.
Guides and Pace: The Human Side of a Small Group Tour
The quality of the day can hinge on the guide. In this tour’s small-group setup, you don’t just ride along—you get someone who can explain what you’re looking at and help shape the pace to match your group.
You might even get a local guide by name. I’ve seen guides associated with this experience such as Gurmit Singh, Paul, Chad, Dwight, and Mike. What stood out in the guidance style is practical coaching: helping guests get what they came for without rushing, and working around real limits. For example, one day included extra support for a guest with mobility issues, which is exactly the kind of small-group advantage that matters on a long outing.
Still, do manage your own expectations for a car-and-walk day. You’ll spend serious time driving, and the tour uses that time to hit multiple sites. If you’re the type who wants frequent long stops to wander freely, this might feel a bit scheduled. If you want an efficient route through the core Mount St. Helens highlights, it fits.
Price and What You’re Really Paying For
At $375 per person, this is not a budget day trip. The question is whether it saves you hassle and delivers the experience you want.
Here’s the value logic that makes the price easier to justify:
- Pickup and drop-off in the Seattle area saves you planning time and reduces stress
- A max 5-person group means you’re paying for a more personal format than big bus tours
- Admission value is built into key stops: the Mount St. Helens Visitor Center (Stop 1) includes admission, and the Eruption Trail (Stop 3) includes admission
- You’re also getting park time at Coldwater Ridge and Coldwater Lake where admission is listed as free, which helps keep the day balanced between learning and scenery
Where people can feel a mismatch is when expectations about “private” or “extra charges” aren’t aligned with the actual tour format. The tour does work as a small group, and it can have a minimum number of travelers. On days when the minimum isn’t met, you may be offered another date or a full refund instead of proceeding.
My honest take: if you’re traveling as a couple or small family and you want guided context plus smooth logistics, this can feel fair. If you’re traveling alone and want maximum flexibility, watch the tour’s minimum-traveler factor so you don’t get surprised.
Who This Tour Is Best For (And Who Should Pick Another Option)
This works especially well if you:
- Want a guided day without wrestling with driving directions
- Prefer short, readable hikes over long backcountry walks
- Like hands-on learning, especially the models, timeline, and live seismograph feed
- Want a small group so your guide can adjust pace and questions
It’s not ideal if you:
- Hate long car rides (this day is heavy on transit time)
- Want unlimited wandering time at each site
- Need a very specific access route at Johnston Ridge beyond the paved Eruption Trail
If your main goal is simply views with minimal explanation, you might find a cheaper self-drive approach works. But if you want the why behind the scenery, this tour’s structure is built for that.
Should You Book This Small-Group Mt. St. Helens Tour?
I’d book it if you want a focused Mount St. Helens day that’s practical from Seattle and designed for real understanding, not just snapshots. The combination of live seismic information, a short barrier-free hike to 360 views, and an easy finish at Coldwater Lake hits the right mix of science and scenery.
Skip it or ask more questions first if you’re highly sensitive to driving time, you have very specific accessibility needs beyond the paved Eruption Trail route, or you’re traveling alone and want to avoid any minimum-traveler surprises.
If you can travel on a clear-weather day, you’ll get the best version of this experience. And if clouds roll in, go with the mindset that you’re still there for interpretation, models, and a guided plan to the main sites.
FAQ
How long is the Mount St. Helens tour from Seattle?
It runs about 8 to 10 hours.
What is the group size?
The tour is limited to a maximum of 5 travelers.
Is pickup available in Seattle?
Yes. Pickup is offered, and you’ll be sent a text message with the approximate location and pick-up time. You can also request pickup and drop-off from additional locations.
Are admission tickets included?
Admission is included at the Mount St. Helens Visitor Center (Stop 1) and the Eruption Trail (Stop 3). Coldwater Ridge Visitor Center (Stop 2) is free, and Coldwater Lake (Stop 4) is free.
Do I need a wristband at Coldwater Lake?
Yes. You’ll need your wristband as proof that you’ve paid to visit or hike trails inside the Mount St. Helens National Volcanic Monument, so don’t throw it away.
What happens if the weather is poor?
This experience requires good weather. If it’s canceled due to poor weather, you’ll be offered a different date or a full refund.