REVIEW · MOAB
Astro-Photo, Hiking and Stargazing Tour in Arches National Park
Book on Viator →Operated by Moab Dark Sky Tours · Bookable on Viator
Arches National Park truly changes mood at night, and this small-group astro-photo experience turns the Milky Way into part of your framing. I like that you get practical gear on arrival—headlamps and tripods—so you can focus on the sky (not fumbling with equipment). I also like the human part: guides help you with both star photography and real-world settings for phones and cameras, so beginners can leave with images they’re proud of.
There’s one consideration before you set your expectations: for this price, don’t count on a telescope or a high-tech observatory setup. You’re paying for guided nighttime photography, not a giant instrument—and you should plan to handle driving to the park site after dark if it’s your first day in the area.
In This Review
- Key highlights
- Where you start: Windows Section Parking Lot under a dark sky
- What you’ll do in those 2 hours of night photography
- The guide makes it practical: gear, settings, and safety
- Using Arches as your camera composition
- Phone settings and camera tips that actually help
- Small group size: easier help and a calmer vibe
- Cool desert evenings and fewer crowds: the real value of going at night
- Transportation and timing: plan for dark roads
- The $175 price: what you’re paying for (and what you’re not)
- Who this tour suits best
- Weather matters more than you think
- Should you book Astro-Photo, Hiking and Stargazing in Arches?
- FAQ
- How long is the Arches night sky astro-photo tour?
- Where does the tour start?
- How much does it cost?
- How many people are in each group?
- Is the tour good for beginners or people without an SLR camera?
- What happens if the weather is bad?
Key highlights
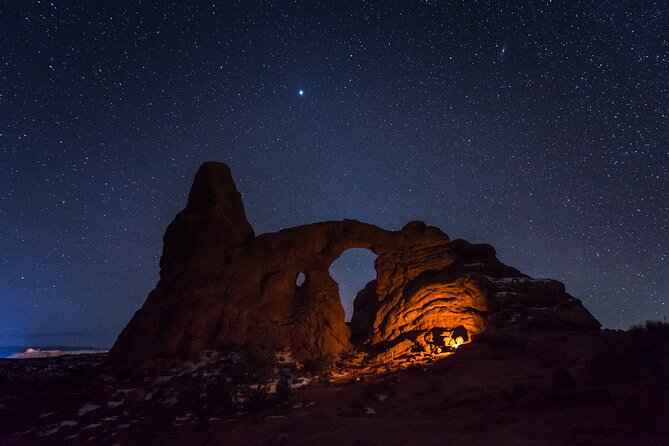
- Milky Way and Milky Way framing at Arches, with arches acting like natural picture frames
- Provided headlamps and tripods, which makes safe night shooting way easier
- Star-trail style results using long exposure ideas, so you can see the sky move
- Small group size (max 6) for more hands-on help setting up
- Phone-friendly guidance if you don’t have an SLR camera
- Cool evening temperatures and fewer people, so you get a calmer park experience
Where you start: Windows Section Parking Lot under a dark sky
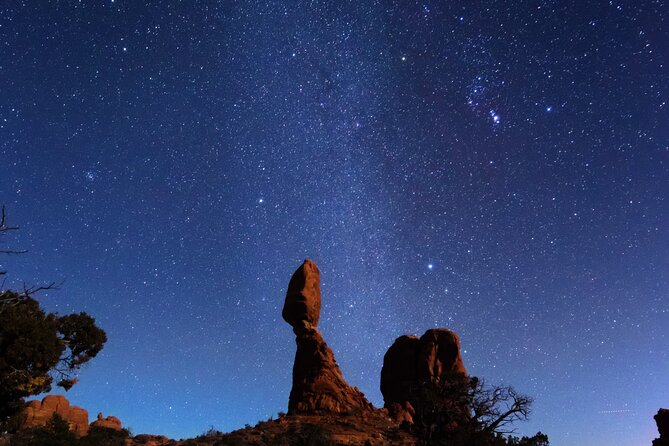
The tour meets at the Windows Section Parking Lot (in Utah). It’s close to where you’ll walk and shoot, which matters because night photography eats time fast. If you’ve ever tried to coordinate tripods and settings in the dark, you know the first minutes decide whether the rest of the session feels fun or frantic.
I like that the meet-up and end point are the same, so you’re not guessing where to regroup or how to get back. You also won’t waste your night piecing together directions. Instead, you settle in, get oriented, and then focus on the sky.
This is also one of those tours where being early for the meeting point helps. Not because you need to rush, but because you’ll want calm time to get your bearings, put on your headlamp, and understand how the guide wants you to position for photos.
You can also read our reviews of more tours and experiences in Moab.
What you’ll do in those 2 hours of night photography
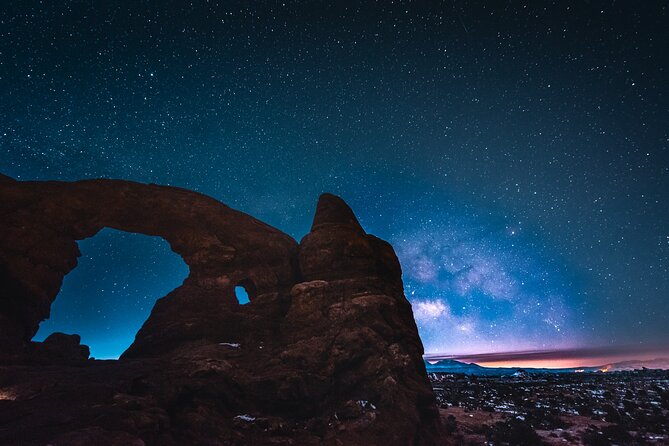
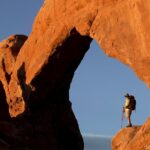
You’ll spend about two hours out in Arches National Park, moving through the rock-garden area and stopping for photo moments. The vibe is part hike, part classroom, part photo lab. Your guide walks you through what to look for both in the park and above it.
The big idea is to blend two worlds:
- the geology up close (arch after arch)
- the night sky as a moving backdrop
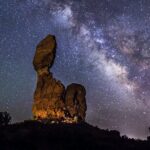
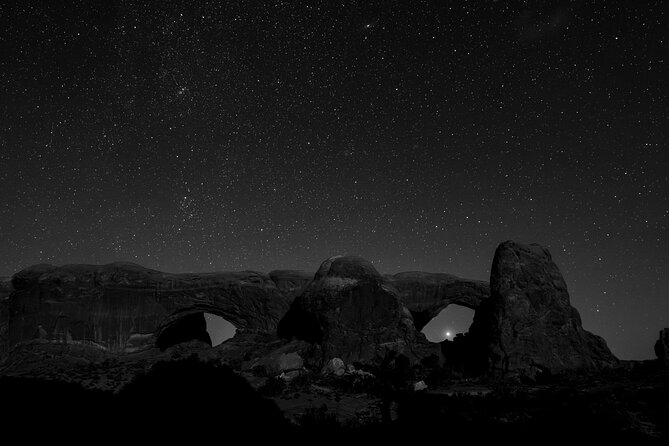
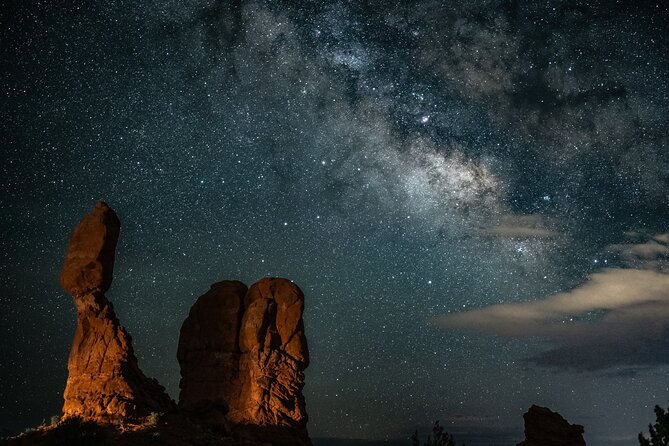
That galaxy-rotation effect you hear about comes from long exposure photography. During a session like this, you’re not just snapping one quick shot—you’re learning how to use exposure time so Earth’s rotation shows up in your images. When it works, the constellations and the Milky Way feel like they’re curving around the arches, and the stone turns into a natural frame.
One drawback to keep in mind: the “cool evening temperatures” you’ll enjoy can also mean your hands get colder while you’re setting up. Bring the layers you’d wear for a real night out in the desert, not just a light evening jacket. Cold hands make tripod adjustments harder and can slow you down right when you need to refine focus and composition.
The guide makes it practical: gear, settings, and safety
The tour isn’t just about showing up to a viewpoint and hoping for good photos. You’re given what you need to shoot safely and steadily at night: headlamps for visibility and tripods for sharp long exposures.
This is one of the most praised parts of the experience, and for good reason. Night photography is unforgiving. If you’re shooting handheld, your images will usually end up too blurry or too dark. Tripods help with stability, and headlamps help you set up without feeling lost in the dark.
Guides in this program—like Sam and Brandon, mentioned by guests—also focus on the settings you can actually change. You’ll learn things like how to get better results from your phone even if you don’t bring an SLR camera. One parent even shared that the guide helped kids get a photo of a small mascot with the stars, which tells you the approach is hands-on and patient, not just technical.
That hands-on element is especially valuable if you’re new to astrophotography. Beginners often have two problems: they don’t know what setting to try, and they don’t know how to position themselves for the framing. A guide bridges both.
Using Arches as your camera composition
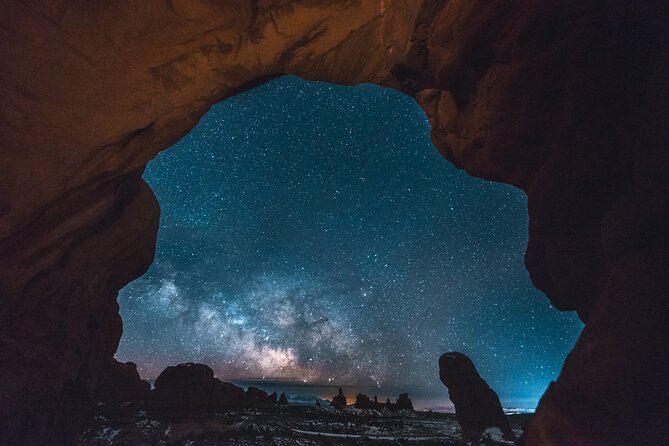
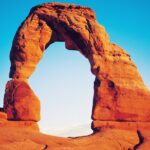
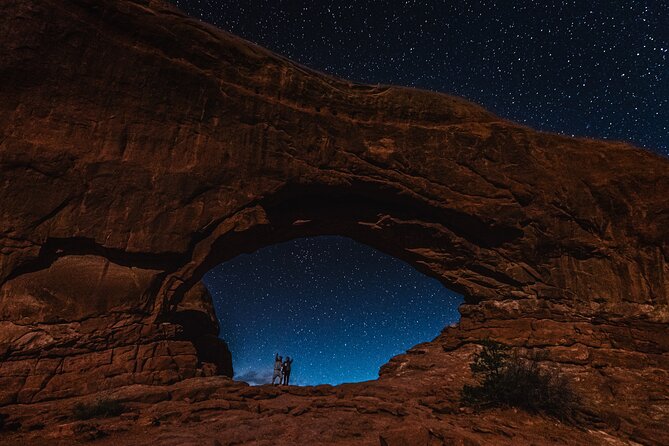
Most stargazing tours focus on the sky. This one also cares about what’s in the foreground. As you walk through the park’s rock features, you’re using arches like built-in foreground elements.
That’s why the framing matters. When the sky and the arches share the same image, you get pictures that feel more story-like than a standalone star field. You’re not only photographing distant light—you’re documenting how human-made viewpoints and natural rock shapes line up with the Milky Way.
The tour also leans into the idea that constellations and the galaxy will appear behind and around arches during your long exposures. In other words, you’re working with time, not just space. You might take multiple shots from the same position, slightly changing angles or settings, to see how the sky movement plays out.
What you’ll come away with is a new way to look at Arches, not just during daylight hours. You’ll start noticing how the park’s shapes can guide where you point your lens when the world goes dark.
Phone settings and camera tips that actually help
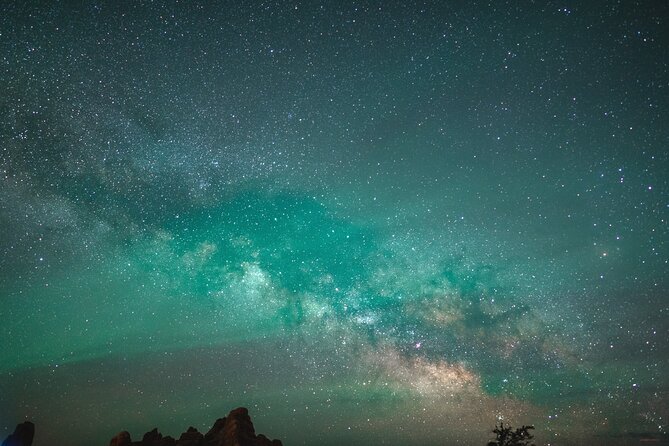
A surprising number of people skip astro tours because they assume you need special gear. This is the kind of experience where that assumption doesn’t hold up.
The guides help with:
- phone photography setups
- camera-oriented approaches (if you have a more advanced setup)
- how to get good results even if you didn’t come prepared for night shots
Brandon, for example, is specifically called out for being patient with someone who had no photography experience, and also for helping a family make star photos using a phone when they did not have an SLR camera. That points to a key strength of the tour: they don’t treat phones as second-class tools.
Even if your goal is just a couple of Milky Way photos, the guidance can save you time. Instead of trying random settings on your own, you learn a workflow that’s meant for real conditions: low light, tripod stability, and a sky that keeps moving.
If you want the best results, arrive willing to learn. You don’t need to know anything in advance. You do need to pay attention while your guide explains how the shot will look once the exposure is running.
Small group size: easier help and a calmer vibe
The maximum group size is 6 travelers. That detail matters more than it sounds.
With a small group, the guide can circulate and fix small issues: tripod height, phone position, framing alignment, or how you’re standing so you don’t block each other’s view. In a larger group, you often spend more time waiting your turn than making improvements.
A smaller group also helps the night mood. Guests highlight the lack of crowds, and that’s not only about the park. It’s about how the tour feels while you’re waiting for a shot to finish. With less foot traffic around you, the scene stays focused on the sky and arches instead of turning into a daytime-style photo line.
If you’re traveling with kids or you want a more personal experience, the 6-person limit is a major reason to consider booking.
Cool desert evenings and fewer crowds: the real value of going at night
Going after dark changes more than the view. It changes the whole experience.
Arches at night tends to mean:
- quieter paths
- fewer people competing for viewpoints
- a colder, more comfortable temperature for walking and standing still
That last point is real. In the desert, even a short walk in daylight can feel like a workout. At night, the air is easier to be in, which makes it more likely you’ll actually enjoy the “wait between shots” part.
The tour also aims for a convenient start point near trails, so you don’t spend the first chunk of your evening driving around or trekking across the park. That convenience is part of the value. When you have only about two hours, wasted movement is what turns a good idea into a rushed one.
Transportation and timing: plan for dark roads
One recurring piece of practical advice is transportation. If you’re doing this as your first day in the park, expect that driving in the dark to the site can feel challenging. This isn’t a reason to skip. It’s a reason to plan.
If you’re already staying in the Moab area and you’ll be arriving early enough to find your way before it gets fully dark, you’ll likely feel more relaxed when the meeting time arrives. If you’re going in from farther out and you’re not comfortable with night driving, you might want to consider how you’ll get there and back without stress.
Also, since the tour ends where it starts, confirm you can park and regroup easily at the Windows Section Parking Lot. That small bit of planning prevents the kind of headache that kills your enjoyment right when you want to focus on stars.
The $175 price: what you’re paying for (and what you’re not)
At $175 per person for a roughly two-hour guided experience, this is not a cheap add-on. I think the price only makes sense if you value guided astro photography over casual stargazing.
Here’s what your money is buying:
- a guide who can help with composition and night photo settings
- provided headlamps and tripods
- a small group size that allows real assistance
- an experience timed for dark-sky conditions inside the park
You’re also paying for convenience. Meeting near trails and returning to the same spot saves time you’d otherwise spend figuring out the best viewpoints on your own.
What you’re not getting, based on guest expectations, is a telescope or a heavily instrumented setup. If you want that, this tour may not match your dream. If you want memorable night photos and the learning that gets you there, the cost is easier to justify.
And if you’re worried about value, think about your likely outcome. Without guidance and stable support like a tripod, many people end up with either blurry photos or images that are too dim to be satisfying. When the guide helps you nail settings and framing, the photos you bring home are the payoff.
Who this tour suits best
This experience is a strong fit for:
- people who want Milky Way photos but don’t want to figure out everything alone
- beginners who want phone-friendly guidance
- small groups who like more personal attention
- families where the guide can help kids participate in photos (and stay engaged)
It may be less ideal if:
- you’re mainly seeking a telescope or a scientific observatory style program
- you hate being outside after dark (even though it’s usually comfortable with cool temperatures)
- you’re not comfortable driving and coordinating a night meetup
Since most travelers can participate, the bar is more about willingness than experience. If you can walk through the park’s rock features and tolerate chilly night air, you’re likely fine.
Weather matters more than you think
The program requires good weather. Night sky photography depends on clear skies, and clouds can ruin both visibility and results.
If the tour is canceled due to poor weather, you’re offered a different date or a full refund. That’s the right kind of safety net for a night experience, because you’re planning around sky conditions, not just a calendar.
Should you book Astro-Photo, Hiking and Stargazing in Arches?
If you want a guided night shoot that helps you actually produce Milky Way images, I think you should book this. The best parts are practical: headlamps and tripods, a small group size, and guides who work with phones and cameras while you learn how to set up shots in the dark.
You might pause if your budget is tight or if you’re specifically expecting telescope-style viewing. This is about star photography and arch framing, not a giant instrument.
My final take: if you’re in Moab and Arches is on your list, this is one of the more memorable ways to see the park. You’ll leave with photos that feel like the desert at night, plus real skills you can reuse the next time you find a dark sky.
FAQ
How long is the Arches night sky astro-photo tour?
It runs for about 2 hours.
Where does the tour start?
You meet at the Windows Section Parking Lot in Utah, and the tour ends back at the same meeting point.
How much does it cost?
The price is $175 per person.
How many people are in each group?
The group size is limited to a maximum of 6 travelers.
Is the tour good for beginners or people without an SLR camera?
Yes. The guides help with phone and camera settings, and most travelers can participate. Guests specifically mention getting helpful instruction even without an SLR camera.
What happens if the weather is bad?
The experience requires good weather. If it’s canceled due to poor weather, you’ll be offered a different date or a full refund.