REVIEW · MOAB
Canyonlands National Park Half-Day Tour from Moab
Book on Viator →Operated by NAVTEC Expeditions · Bookable on Viator
Canyonlands looks different when you drive into it. This half-day 4WD tour from Moab gets you into the Island in the Sky district and onto the White Rim Road with help from pros like Cody and Annie, plus photo stops that most folks miss. You also get real cultural context with Pueblo rock art stops, not just big views on a highway.
I love how the route is planned for both wow-factor and understanding: you’re seeing drop-offs hundreds of feet down, but your guide also explains what you’re looking at—geology and Pueblo history—while keeping the pace friendly for short walks. One thing to consider: the drive can feel rough and intense, with steep, narrow stretches, bumpy rides, and some noise, which won’t be everyone’s comfort zone.
In This Review
- Key things I’d mark on your map
- Driving Canyonlands by 4WD from Moab is the whole point
- Potash Road and Scenic Byway 279: the rock art stops that set the tone
- Island in the Sky: mesa views plus the White Rim Road loop feel
- Musselman Arch: short walk, big payoff
- Shafer Trail switchbacks: the climb where the views hit hardest
- How the tour is paced (and why the guides matter)
- What’s included, what’s not, and the real value of $196.96
- Best time to go: morning, afternoon, or sunset?
- Who should book this 4WD Canyonlands tour—and who should think twice
- Quick practical tips before you go
- Should you book this Canyonlands half-day from Moab?
Key things I’d mark on your map
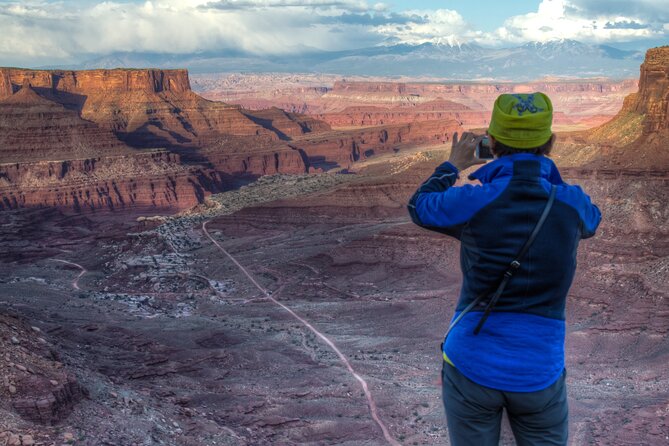
- Island in the Sky + White Rim access without you white-knuckling the roads on your own
- Gooseneck Overlook and Colorado River viewpoints timed for the best look you can get in a short tour
- Pueblo petroglyph and rock art stops near Moab on Scenic Byway 279
- Musselman Arch with a short 300 ft walk that breaks the driving monotony
- Shafer Trail switchbacks climb up to the mesa for big rim views
- Small-group feel (max 20 total) with a professional driver behind the wheel
Driving Canyonlands by 4WD from Moab is the whole point
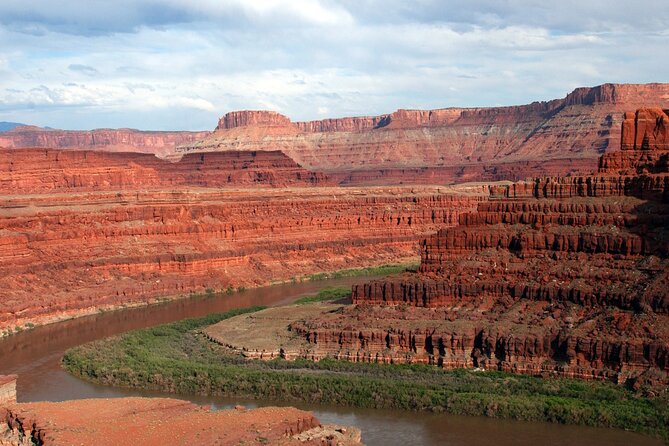
Moab is your launch pad, and in about 4 hours you’ll cover a lot of Canyonlands. The tour starts at 321 N Main St and moves you from town into the park by 4WD routes, starting with easier roadside scenery and quickly turning into red-rock backcountry roads with switchbacks and sheer drop-offs. It’s the kind of outing where you spend less time thinking about directions and more time looking out the window.
This is also a practical way to see Canyonlands without renting a high-clearance vehicle or trying to navigate rough terrain solo. The off-road roads you’ll travel are not the usual quick sightseeing loop, and the guides are trained to handle the narrow stretches smoothly while still stopping often enough for photos.
You can also read our reviews of more tours and experiences in Moab.
Potash Road and Scenic Byway 279: the rock art stops that set the tone
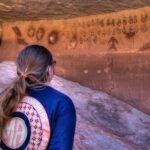
Before you ever hit the big Canyonlands roads, you’ll start with petroglyphs and rock art near Moab along Scenic Byway 279. The first stop is along Potash Road at a petroglyph rock art site, where your guide shares what the marks can mean and why people chose these kinds of places to pass through.
Then you’ll head to the Rock Art Sites of Moab, again along Byway 279. The nice part here is how accessible it is: you’re not signing up for a hard hike. It’s more like a guided introduction to the area’s Indigenous presence, and it gives your later Canyonlands views a context beyond scenery.
Two practical tips here:
- Bring sun protection early. This section is outdoors and it’s easy to forget you’ll be waiting at viewpoints later.
- If you want camera time, treat the rock art stops like your first photo warm-up. The lighting is often good before the bigger canyon shadows move in.
Island in the Sky: mesa views plus the White Rim Road loop feel
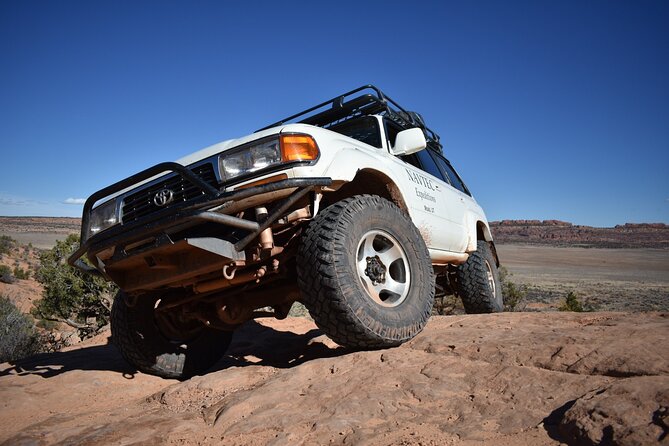
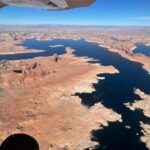
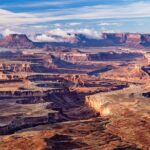
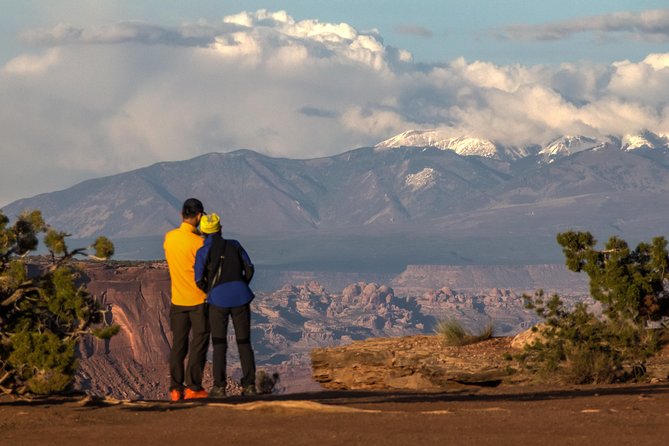
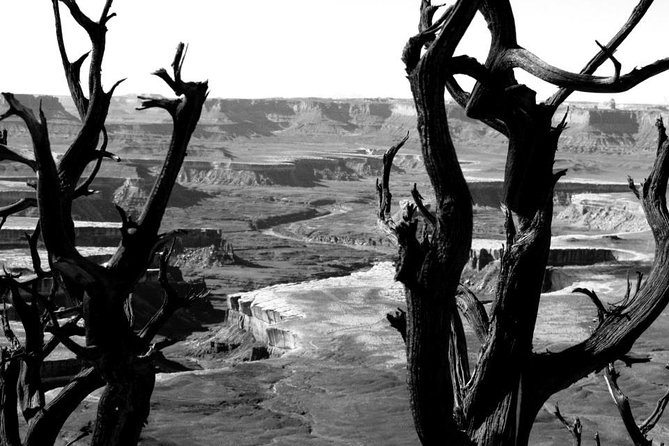
Once you enter Canyonlands, the tour shifts from “approach the park” into “get inside the park.” You’ll drive on a 4WD trail and spend about an hour in the Island in the Sky area, where the sandstone formations wrap around for long distances. Island in the Sky is all about elevation and scale—when you’re up on top, you see how the canyons and ridges stack and how far the backcountry stretches.
Then comes the signature part: travel along the White Rim Road loop. The route is described as roughly 100 miles in total, but you’re not doing it as a full loop by yourself—you’re getting a curated slice that includes key lookouts and the kind of switchback driving that makes the tour worth booking.
Along this stretch, expect panoramic stops such as Gooseneck Overlook and Musselman Arch access points, plus views of the Colorado River. You’ll also get chances to photograph Thelma and Louise Point, which is the kind of spot people remember because it looks like the canyon is performing for the camera.
One caution: while the driving portion is the highlight, some parts are steep and narrow. If you’re prone to motion sickness, plan for that. Even if you feel fine at first, the ride can get bumpy enough to change how you feel by the middle of the tour.
Musselman Arch: short walk, big payoff
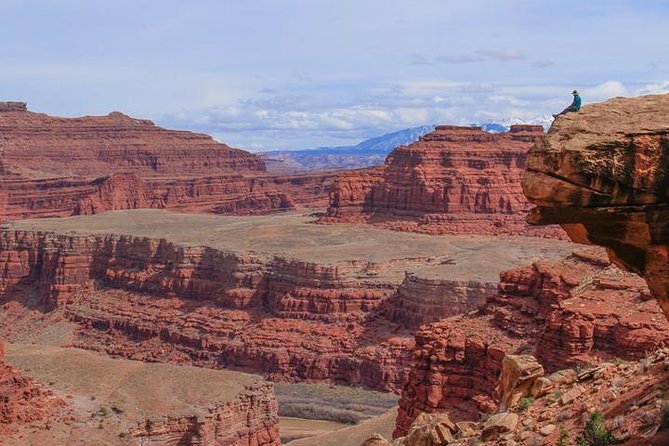
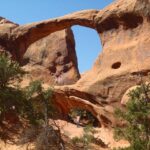
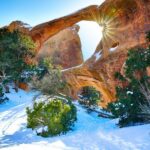
Musselman Arch is one of those stops that feels small on the schedule and huge in the results. The tour includes a short stroll of about 300 feet to the arch, with about 30 minutes allocated for this stop.
This is a good balance for people who don’t want a long hike but still want to stretch their legs and see something up close. From the arch area, you get a natural frame for canyon country—your photos won’t all look like the same distant viewpoint.
The tradeoff is time. Thirty minutes disappears fast once you factor in moving carefully on uneven ground, setting up a shot, and listening while your guide gives context. If you’re the type who wants multiple angles, tell your guide you’d like a couple extra photo minutes and they’ll usually help you manage it.
Shafer Trail switchbacks: the climb where the views hit hardest
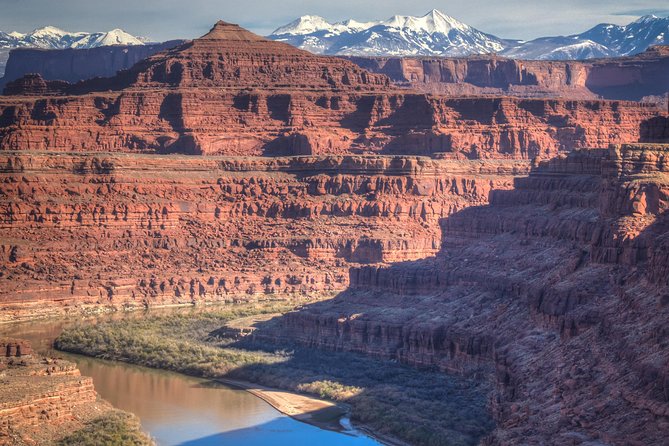
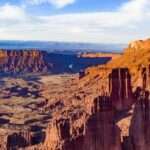
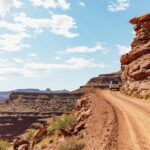
After the lookouts and the arch, you backtrack along the White Rim trail and then transition into the iconic Shafer Trail switchbacks. This is the part where Canyonlands stops being a place you look at and starts being a place you ride through.
The Shafer Trail climb is described as climbing about 1,000 feet to the rim of Island in the Sky, with switchbacks designed to help vehicles gain elevation. When you’re moving up that kind of grade along canyon edges, you get the sense that the landscape is built in layers—top, middle, and deep canyon cuts—each one visible from the rim.
This section is often what people mean when they say this is the best way to experience Canyonlands. And it’s also where you should mentally prepare for the driving intensity. A few notes from real-world experiences that match what the route implies: the roads can be dusty, noisy, and rough, but the whole point is that you’re getting access to places you can’t reach from normal overlooks.
If you want the maximum wow-factor, consider booking a morning or later-day departure. One guide will handle the roads either way, but the light can change how the canyon walls look—especially for the late afternoon or sunset option.

How the tour is paced (and why the guides matter)
The “half-day” format works because it mixes driving with brief stops and short walks. You’re not stuck in the vehicle for long periods without a reason, and you’re not hiking all day either. Breaks are built in so you can grab photos, use the short trails from viewpoints, and switch perspectives—from wide rim shots to closer details like rock art markings.
Guides are a big part of why this tour scores so highly. Names you may encounter include Cody, Blaine, Adam, John, Warren, Mike, Annie, Courtney, Greg, Ben, and Hayden. Across these guides, the recurring theme is storytelling that ties geology and Indigenous history to the actual places you’re looking at.
That’s not just “interesting talk.” It’s practical. When someone explains what formed a canyon wall or why a route or petroglyph site mattered, your brain builds a map. Then the views feel less random and more meaningful.
Comfort note: one common complaint is that the center back seat can be less comfortable on the vehicle. If you’re sensitive about seating, ask about the best place to sit when you’re getting onboard. Also, plan for bumpy road noise—bring your own ways to handle it, like having your phone ready for photos and keeping water handy.
What’s included, what’s not, and the real value of $196.96
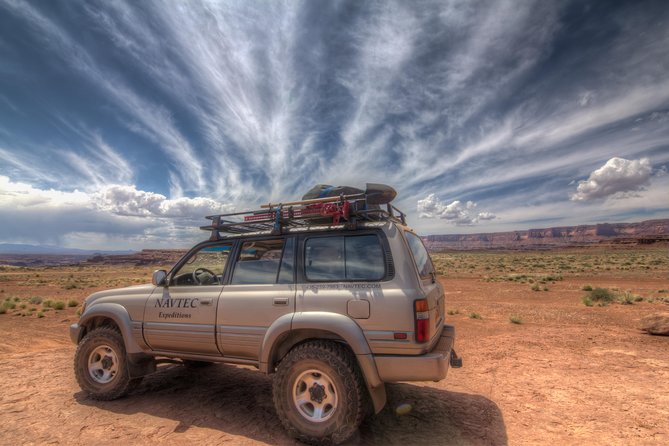
At $196.96 per person, you’re paying for two main things: expert access and professional driving on terrain you likely wouldn’t want to manage alone. This tour includes a professional guide, transport in a 4×4 vehicle, and ice water. Water refills are part of the setup, but it’s still smart to bring a water bottle and sun protection.
Not included:
- National Park entrance fees (listed as $15 per person unless you have a pass)
- Soft drinks and food
- Gratuity for your guide
- Car/booster seat for children 7 and under (required)
Here’s the value math you can do before you book:
- If you’d otherwise need a rental vehicle capable of rough roads, plus gas, plus parking/logistics, this starts to look more reasonable fast.
- If you care about seeing more than the common overlooks, the included off-road access is the key. The route takes you to viewpoints and side areas that typical self-driving can’t reach.
- The guide portion matters. Canyonlands can be visually stunning and also hard to interpret without context. If you want the “how it formed and who lived here” angle, that interpretation is included.
The other value factor is time. You get the Island in the Sky highlights, White Rim lookouts like Gooseneck Overlook, and the Musselman Arch stop, all in about 4 hours.
Best time to go: morning, afternoon, or sunset?
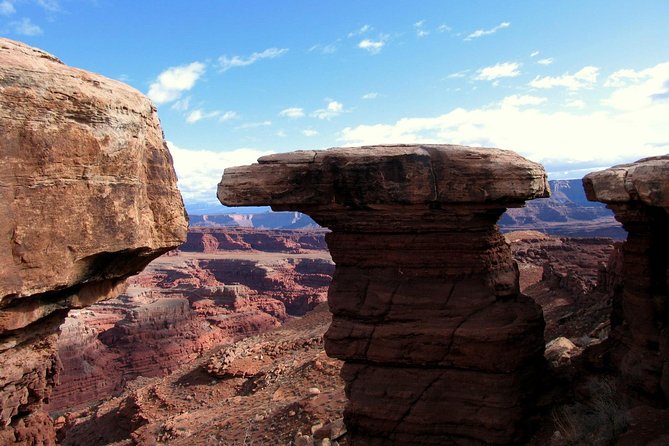
You can choose a morning, afternoon, or sunset tour. If you’re chasing photos, this matters more than it sounds. Late-day light often makes canyon edges glow and can show texture in the stone walls in a way midday doesn’t.
One real-world detail from an October afternoon departure: around 3 pm, lighting was especially good, with the canyon look changing as the sun angle shifted. You’ll likely experience something similar on most late-day tours, even if clouds or haze change results.
Morning departures can feel fresher and calmer, especially on a hot day in Moab. If you’re prone to heat fatigue, start earlier and you’ll have more energy for the short walks and photo stops.
Who should book this 4WD Canyonlands tour—and who should think twice
This tour is a strong fit if:
- You want real access to Canyonlands via 4WD roads and switchbacks.
- You prefer guided history and geology alongside the scenery.
- You want a half-day option that still feels like an adventure, not a long drive with quick stops.
- You’re okay with short walks and spending most of your time looking out over canyon edges.
Think twice if:
- You’re easily nervous about steep, narrow roads or you’re sensitive to a rough ride. Even with excellent driving, the route is off-road.
- Comfort matters a lot for you. Some seating areas may feel less comfortable, especially if you’re trying to sit still during bumpy stretches.
- You have mobility limits for short, uneven paths near viewpoints and at Musselman Arch.
Good news: the tour is described as something most travelers can participate in, and the guides focus on making sure everyone can enjoy the stops. But your comfort with the driving is still the big deciding factor.
Quick practical tips before you go
- Bring your own sun protection and a camera. The timing of stops means you’ll be outside a lot.
- Wear clothes that can handle dust. The roads can be dusty, and the vehicle can get noisy.
- Expect to spend time on the lookout and taking photos. The schedule includes multiple short stops for viewing and picture time.
- Budget for park entry if you don’t have a pass, since it’s not included.
If you’re traveling with kids, remember the car/booster seat requirement for children 7 and under.
Should you book this Canyonlands half-day from Moab?
Book it if you want the Canyonlands experience that doesn’t stop at a roadside pullout. This tour gets you into the Island in the Sky area and onto the White Rim and Shafer Trail routes, with Pueblo rock art context and a well-paced mix of viewpoints plus short walks like Musselman Arch.
Skip it—or at least choose your expectations carefully—if you hate rough roads, get carsick easily, or need a smooth, calm ride. The views are the point, and the ride can be part of that excitement.
If you’re on the fence, here’s my simple recommendation: if Canyonlands is on your must-see list and you’re okay with a little dust, noise, and thrilling edges, this is a very solid way to make a half-day count.