REVIEW · ISLAND OF HAWAII
Hawaii: Volcanoes National Park E-Bike Rental and GPS Audio
Book on GetYourGuide →Operated by Bike Volcano · Bookable on GetYourGuide
E-biking the rim makes Kilauea feel close. This is a 4-hour, self-guided-style tour that uses a GPS audio app to route you through permitted National Park bike trails and key sights, with audio context as you go. You’ll start at Bike Volcano in Volcano Village, get fitted and briefed, then roll into the park at your own pace without the hassle of long parking and big on-foot distances.
I especially love the combo of e-bike power and the voice turn-by-turn directions. The ride is active but not punishing, and the app helps you keep moving toward the main highlights instead of second-guessing routes. One thing to consider: you need your own working smartphone, and you’ll still be sharing some roads with vehicle traffic on the way between sights, so you’ll want to stay alert and follow the rules closely.
In This Review
- Key highlights at a glance
- Kilauea on two wheels: what makes this tour work
- Starting at Bike Volcano: parking, fit, and a calm safety briefing
- The GPS Audio app through the rainforest trails
- Steam vents: the moment you feel volcano energy
- Volcano House and mid-tour lunch: a practical rest break
- The lava tube walk: a cool, controlled way to see geology
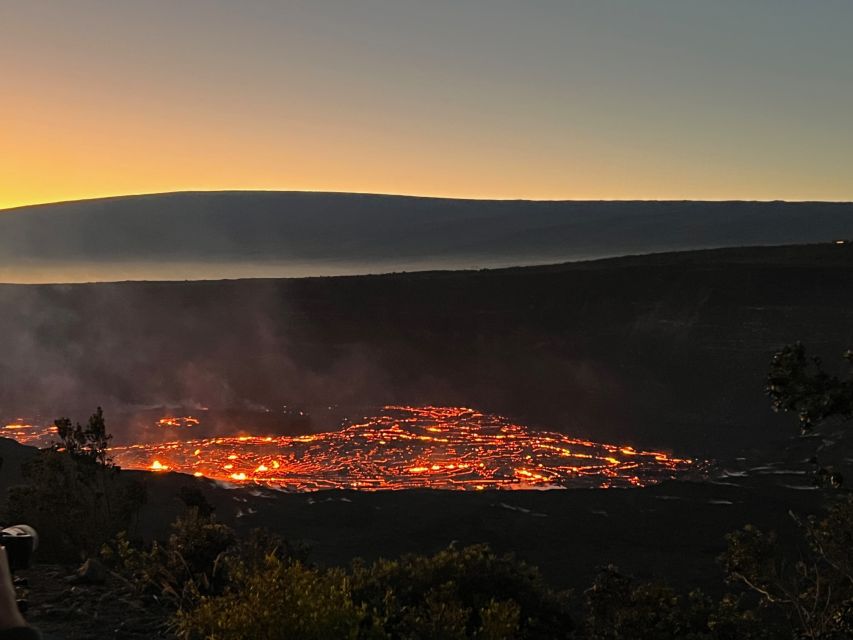
- Kilauea Overlook and the Summit of Kilauea: seeing active lava safely
- Roads, traffic, and how to ride with confidence
- Price and value: what $159 covers (and what doesn’t)
- Who should book this e-bike volcano day
- Should you book this Bike Volcano E-Bike and GPS Audio ride?
- FAQ
- Do I need to buy a Hawaii Volcanoes National Park pass?
- What’s the meeting point for the tour?
- How long is the experience?
- Is the GPS audio app included, and do I need my own phone?
- What languages are available for the audio guide?
- Are helmets provided?
- Who can’t participate?
Key highlights at a glance
- E-bike loop around the rim of an active volcanic area, built to cut down on walking
- GPS audio navigation that gives turn-by-turn directions plus historic audio in multiple languages
- Steam vent stops where you can feel the volcanic heat up close
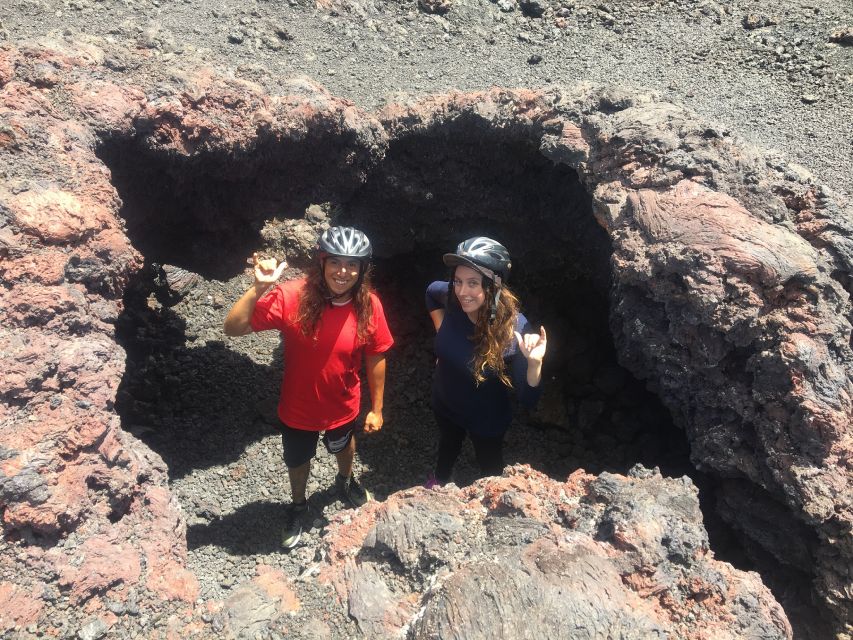
- A lava tube walk to experience the power of the landscape in a more hands-on way
- Paved bike routes and roads that reduce strain while connecting viewpoints
- Live human phone support during your ride if you run into trouble
Kilauea on two wheels: what makes this tour work
If you’re picturing Volcanoes National Park as a place you have to tour on foot, this changes the equation. You’re still seeing volcanic terrain and rainforest, but you’re doing it with an e-bike that helps you cover more ground with less fatigue. That matters at Kilauea, where “main sights” can add up fast once you start factoring in parking, walking time, and the stops you want to make for views.
The other big reason this tour feels efficient is the GPS audio setup. Instead of carrying a bunch of paper maps and trying to line up your own route, the smartphone app provides voice guidance and audio information as you move between points. You can pause, look around, and still feel confident you’re heading where you’re supposed to go.
The overall payoff is access. With this format, you spend your time at the viewpoints that matter—like Kilauea Overlook and the Summit of Kilauea—rather than spending half your day solving logistics.
You can also read our reviews of more tours and experiences in Island Of Hawaii.
Starting at Bike Volcano: parking, fit, and a calm safety briefing
Your day begins at Bike Volcano headquarters in Volcano Village. Plan to arrive early enough to check in, because you pick up your e-bike at 9:30 AM and the tour returns by 2:00 PM. That schedule gives you a wide window to ride at a leisurely pace instead of feeling rushed.
What I like about the setup is that it’s built for practical comfort before you head into the park:
- Secured parking so you can leave your car without hunting
- Restrooms on site
- A general store and a restaurant nearby
- A helmet and basic gear handled by the provider (helmet is included)
Before you ride, you’ll get fitted on the bike and attend a safety lecture under the canopy staging area. It’s not the kind of briefing where you feel like you’re being tested, but it’s still important because you’re mixing e-bike travel with the realities of roads and park rules.
Pro tip: bring warm clothes even if it feels mild at check-in. The volcanic area can shift quickly, and you’re going to be outside for hours.
The GPS Audio app through the rainforest trails
Once you roll out, the route starts moving you from Volcano Village into the national park along bike trails through lush native Hawaiian rainforest. The app drives the experience: you get voice turn-by-turn navigation and audio information as you pass points of interest.
Here’s why this matters for your day. Volcanoes National Park has sections where it’s easy to lose time if you’re unsure where you are or which path connects to the next viewpoint. The GPS approach helps you keep momentum, so you can spend your attention on the scenery—steam clouds, tree lines, and the way the terrain changes as you approach volcanic features.
Audio is included in English, French, German, and Japanese. You’ll still want to keep your phone secure and reachable (use the provided bike bag, and make sure you can hear the audio while you ride). If you’ve ever tried to work a GPS while moving, you know it can be annoying. The experience here is designed to reduce that friction, and there’s also live human phone support if you have trouble while you’re out.
One caution: you are relying on a working smartphone. You’ll need the device, it must be fully functional, and you should plan for battery life since you’ll be using it for navigation and audio.
Steam vents: the moment you feel volcano energy
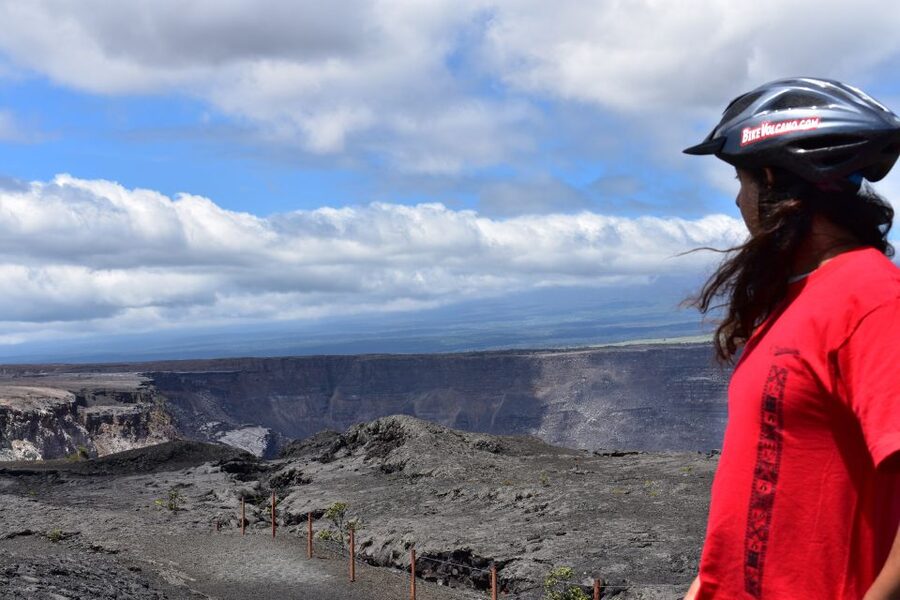
As you ride deeper, you’ll reach the areas where the volcanic activity is most obvious in your senses. The tour includes time for the steam vents, where you can literally feel the warmth and the shifting air around you. This is one of those places where photos don’t fully capture what’s going on; the feeling is physical.
The best way to make this stop worth it is to slow down and take in the changes:
- How the air temperature differs from the surrounding sections
- How steam rises and spreads
- How visibility can shift as clouds move
Because you’re on an e-bike, you’re not forced to sprint between stops. You can actually linger long enough to notice what makes this part different from the rest of the park.
If you’re sensitive to heat or air that feels thick, give yourself extra time here. Take a few breaths before you decide to move closer.
Volcano House and mid-tour lunch: a practical rest break
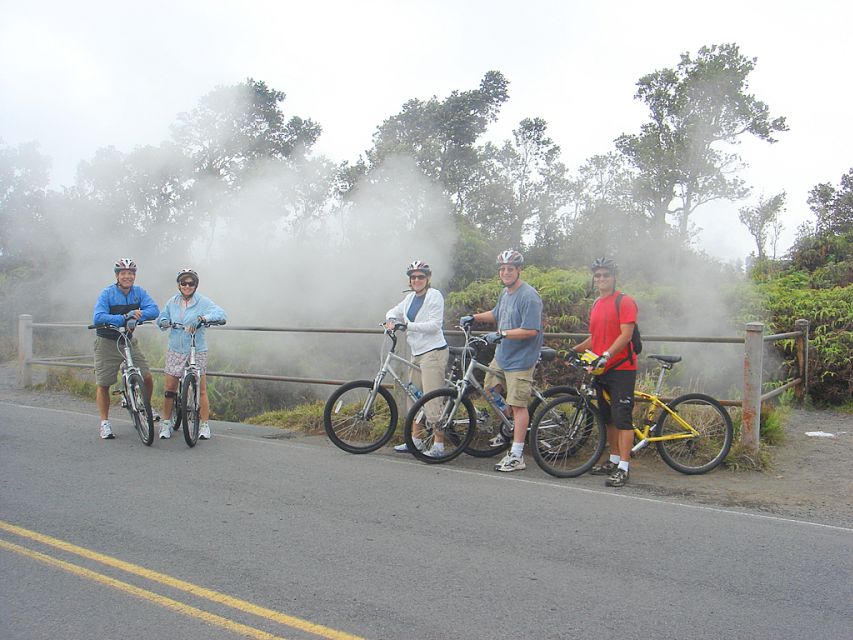
Midway through your ride, you have an option to stop for lunch at Volcano House’s Rim Restaurant. The tour format is designed so lunch can fit naturally without derailing your day, since you’re already routing between major sights.
Even if you don’t eat there, the idea is helpful: you get a built-in pause while you’re still in the “park rhythm.” That reduces the odds you end up hungry, cold, or rushed during the most dramatic portions of the route.
What to remember: bring your sunglasses, sunscreen, and a camera if you want to capture the changing light. Volcanic scenery can look different depending on cloud cover and the time of day.
The lava tube walk: a cool, controlled way to see geology
One of the most memorable elements is the included chance to walk through a lava tube. This is a different feeling than standing outdoors watching steam vents. A lava tube is a physical space shaped by flows and cooling, and it can surprise you with how it changes the air, sound, and temperature as you move inside.
This part is also a good place to think about footing. You’re wearing closed-toe shoes only, which is required. Keep your pace steady, and don’t try to turn it into a photo sprint. The goal is to experience the space slowly, not race through it.
If you’re curious about how volcanic landscapes form, this stop gives you a tangible “how it works” feeling. You’re not just looking at terrain—you’re moving through a result of volcanic activity.
Kilauea Overlook and the Summit of Kilauea: seeing active lava safely
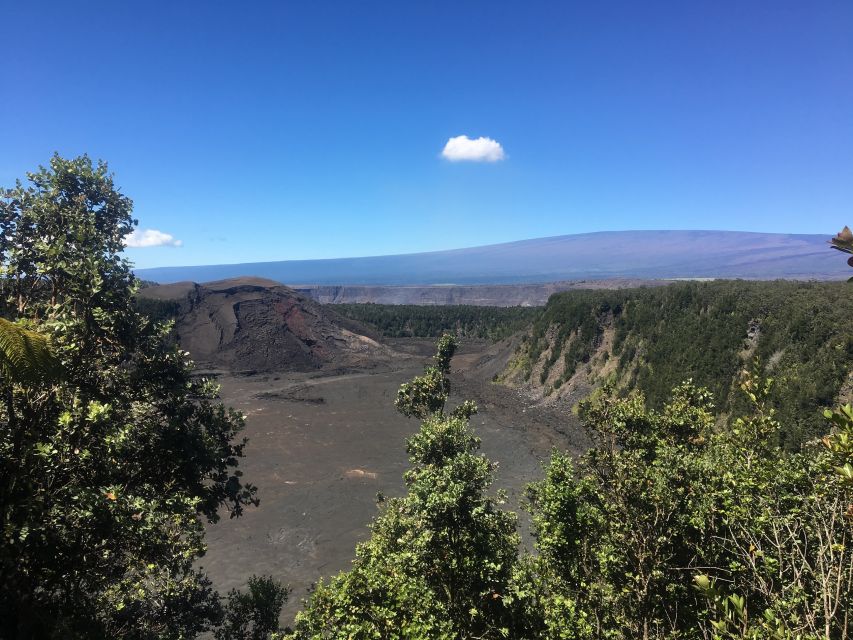
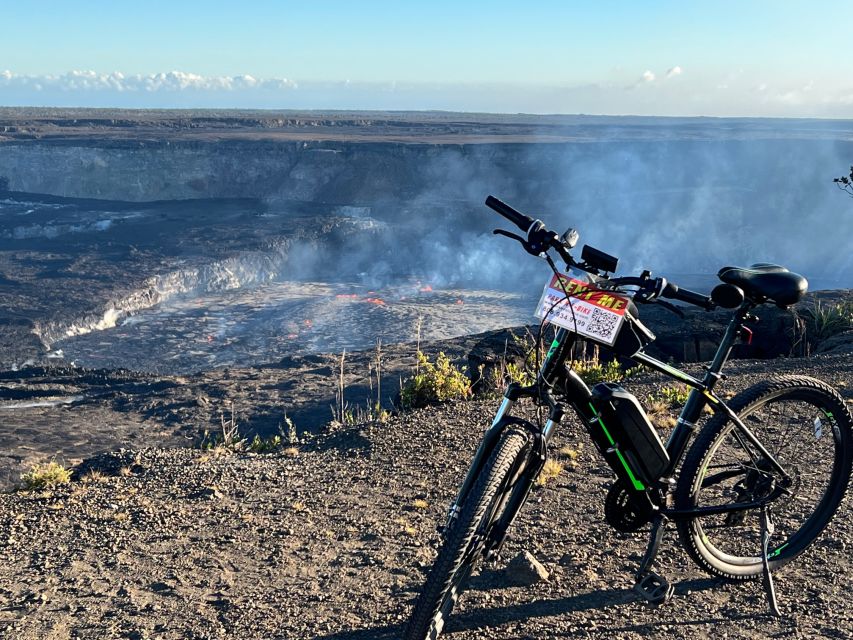
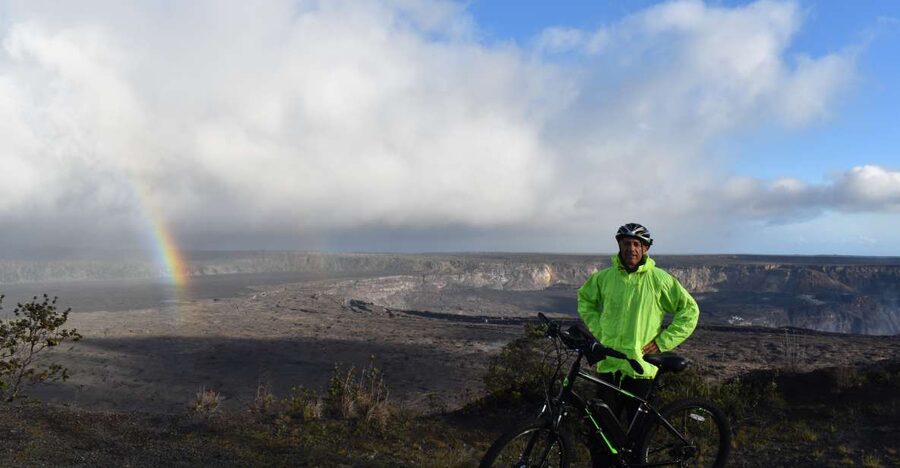
The big headline moments are the viewpoints: Kilauea Overlook and the Summit of Kilauea. The experience is designed to position you for the best chance to see active lava, when conditions allow.
Keep your expectations flexible. Active lava visibility can vary with time, weather, and viewing conditions. Still, planning around these stops is smart because it maximizes your chance to be near the right places without spending your whole day searching.
These are also the stops where the e-bike routing really pays off. You’re reaching key areas without the heavy walking that can eat up energy. That energy matters because the final push is often the portion where you’re standing still more, scanning for movement and changes in the landscape.
From a safety perspective, always follow the park’s rules and stay within permitted biking areas. This tour is set up around paved bike trails and roads that connect highlights, but you should treat each viewpoint like a normal sightseeing area: move carefully, don’t block traffic, and obey signage.
Roads, traffic, and how to ride with confidence
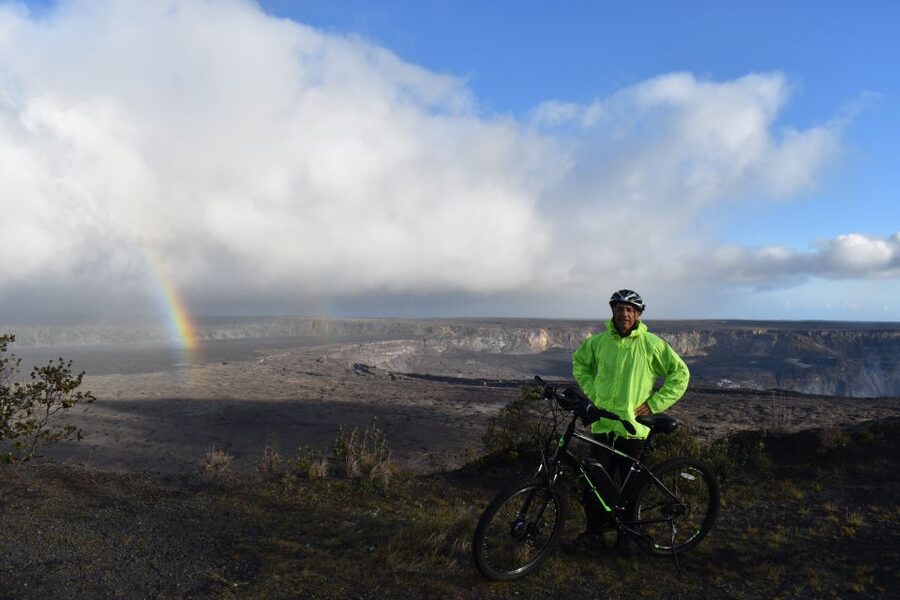
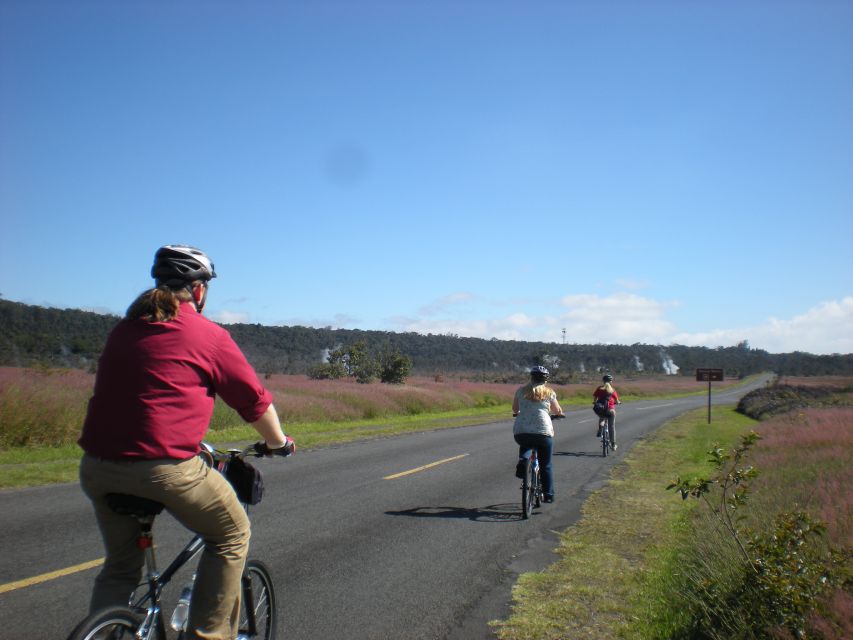
Even though you’re mostly on bike-appropriate routes, you may still encounter busy roadside stretches. One real-world consideration is how it feels sharing roads with rental cars. On busier days, cars can be impatient, and the ride can feel sketchy if you’re not used to bike positioning.
The good news is that the tour approach encourages riding along the sides of the road and staying compliant with park regulations. That’s the difference between a manageable commute and a stressful one.
Practical riding mindset:
- Ride predictably, not aggressively.
- Keep to the side and follow any posted guidance.
- Take extra care at turns and when you need to slow down for viewpoints.
If you already feel comfortable on a bike, you’ll likely find this manageable. If you’re a beginner, plan to go slow and treat the first part of the route as a settling-in period.
Price and value: what $159 covers (and what doesn’t)
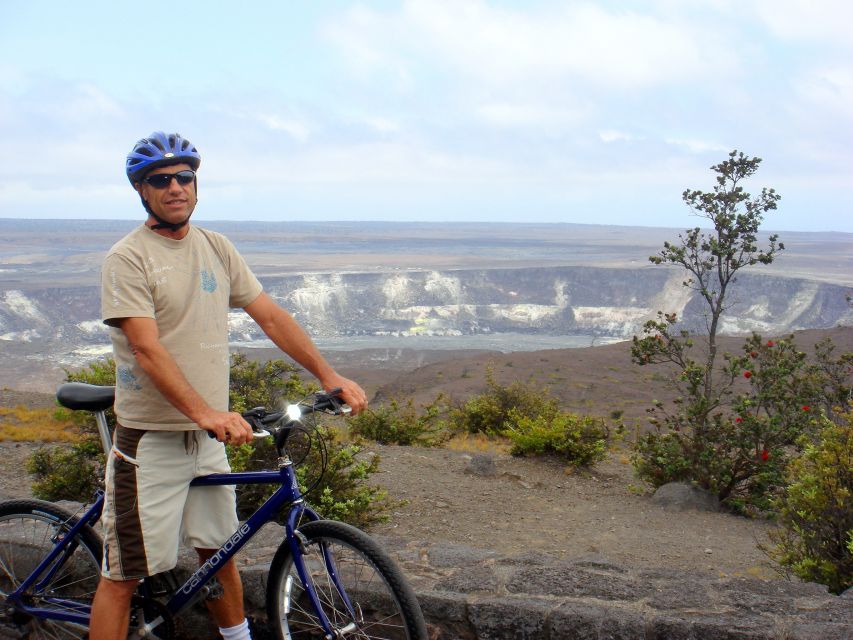
The price is $159 per person for a 4-hour experience. That may sound high until you break down what you’re actually getting.
You’re paying for:
- A hybrid e-bike rental (not just a basic bike)
- Helmet, bike bag, and a bike lock
- Safety instruction and a guided-ready setup
- A fully functioning GPS audio app (smartphone required)
- Secure parking and restrooms at the start
- Live human phone support
- Access to permitted routes that connect major volcanic highlights efficiently
What’s not included is important: you’ll still need a Hawaii Volcanoes National Park pass on your own. Also, there’s a $1500 equipment security deposit, and that’s something you should be prepared for financially.
In the end, the value comes from time and access. If you want to see more of the park without burning your legs on long walks, the e-bike format is doing exactly what it’s supposed to do.
Who should book this e-bike volcano day
This is a strong fit if you:
- Want to cover more ground than a walking-only visit
- Prefer self-guided freedom with navigation help
- Enjoy hands-on stops like steam vents and a lava tube
- Like the idea of active sightseeing without making the day physically draining
It may not be the best fit if you:
- Don’t have a smartphone you can use reliably for GPS audio
- Need a fully car-free route (some roads are shared)
- Have restrictions listed by the provider (not suitable for children under 15, pregnant women, or people over 250 lbs / 113 kg)
Bring closed-toe shoes and warm layers. It’s not a casual flip-flop day in a place built on volcanic terrain.
Should you book this Bike Volcano E-Bike and GPS Audio ride?
I’d book it if your goal is to see the park’s major volcanic highlights with less walking and more confidence in your routing. The combo of e-bike power and turn-by-turn audio navigation is exactly what turns a long, logistically complex park day into something you can actually enjoy.
Skip it if you’re uncomfortable riding on roads with cars, or if you’re worried about relying on your phone for navigation. Also factor in the extra cost of the national park pass and the equipment security deposit.
If you’re an independent traveler who wants control over pace, but still wants help staying on permitted routes, this is a smart, cost-and-time efficient way to experience Kilauea’s energy.
FAQ
Do I need to buy a Hawaii Volcanoes National Park pass?
The park pass is not included. You’ll need to purchase it separately.
What’s the meeting point for the tour?
Meet at Bike Volcano headquarters in Volcano Village. There is secure parking, restrooms, and a canopy staging area.
How long is the experience?
The total duration is about 4 hours, starting with e-bike pickup at 9:30 AM and returning by 2:00 PM.
Is the GPS audio app included, and do I need my own phone?
Yes. A free GPS audio app is included, but you must use a fully functioning smartphone.
What languages are available for the audio guide?
Audio is available in English, French, German, and Japanese.
Are helmets provided?
Yes. A helmet is included with the e-bike rental.
Who can’t participate?
The activity isn’t suitable for children under 15, pregnant women, or people over 250 lbs (113 kg). Sandals or flip-flops are not allowed, and slippers aren’t allowed either.