REVIEW · YULARA
Uluru: National Park Astronomy Tour with Telescope and Photo
Book on GetYourGuide →Operated by Uluru Astro Tours · Bookable on GetYourGuide
This sky is the main event. I love the low-light stargazing over Uluru, and I love the chance for telescope time that can turn fuzzy dots into real objects. One thing to plan for: if the Moon is bright or the group is large, you may spend more time waiting and see fewer faint stars.
I recommend this tour if you want science plus story in one night. Pickup runs from your accommodation, and you’ll look for the bus marked Atrip, then head out to darker skies before the showing begins.
In This Review
- Key takeaways
- Heading out from your resort: the value of leaving light pollution behind
- Uluru and Kata Tjuta after dark: what you’ll see in the 150 minutes
- Telescope time at Uluru: turning points of light into real targets
- How to get your turn smoothly
- Indigenous astronomy talks: constellations with cultural meaning
- The professional photo under Uluru: what you’re really paying for
- Tips to improve your own shots (optional, but worth it)
- What to pack for an outback stargazing night (warmth is not optional)
- Price and timing: is $91 good value for Uluru astronomy?
- Small drawbacks to plan for: Moonlight and lines
- Who should book this Uluru astronomy tour, and who might skip it
- Should you book Uluru National Park Astronomy with Telescope and Photo?
- FAQ
- How long is the Uluru astronomy tour?
- Is pickup and drop-off included?
- What does the tour include besides stargazing?
- Do I need a National Park Pass for this tour?
- What languages are the guides?
- What should I bring to the tour?
- If I want to take my own astrophotos, can I bring gear?
- Is there a cancellation option and flexible booking?
Key takeaways
- Uluru and Kata Tjuta under dark skies: the outback setting is a huge part of why the Milky Way looks so strong
- Telescope views you can feel: reviews point to Saturn’s rings and planets like you normally only read about
- Guides who pair astronomy with indigenous astronomy: you’ll use lasers to find constellations and hear cultural explanations
- A pro photo you download later: you’ll get a long-exposure style shot with Uluru and the star field behind you
- Phone-friendly night-sky help: you might get tips for settings so your own photos look better
Heading out from your resort: the value of leaving light pollution behind
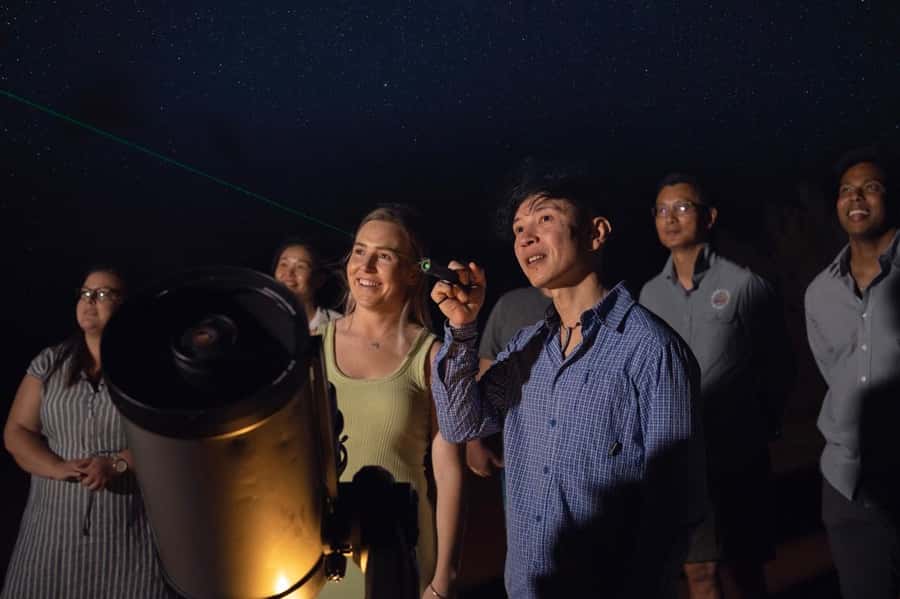
This is an evening tour, built around one simple idea: the best star views happen when you get away from town lights. The pickup from your accommodation matters because it saves you the hassle of driving after dark—and it gets you to the stargazing spot when the sky is at its best.
Right from the start, keep an eye out for the bus named Atrip. The operator sends your confirmed pickup schedule by email on the day, so you’ll know the time window and don’t have to guess. The total running time is 150 minutes, so it moves at a good pace: enough time to look around, use the telescopes, and still end the night with that pro-star photo moment.
Uluru and Kata Tjuta after dark: what you’ll see in the 150 minutes
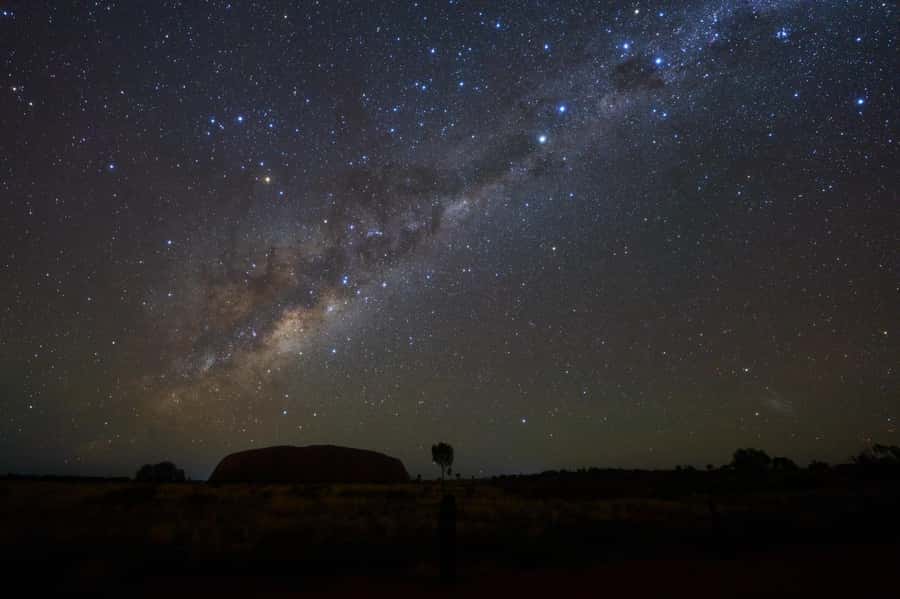
Once you’re outside the light-polluted zone, the sky does what it’s famous for in the Australian outback: it shows its full range. On clear nights, people describe a sky packed with stars and the Milky Way making a dramatic appearance. If you’re used to a city sky, the difference is big. The “ordinary” constellations you might recognize turn into a whole different map.
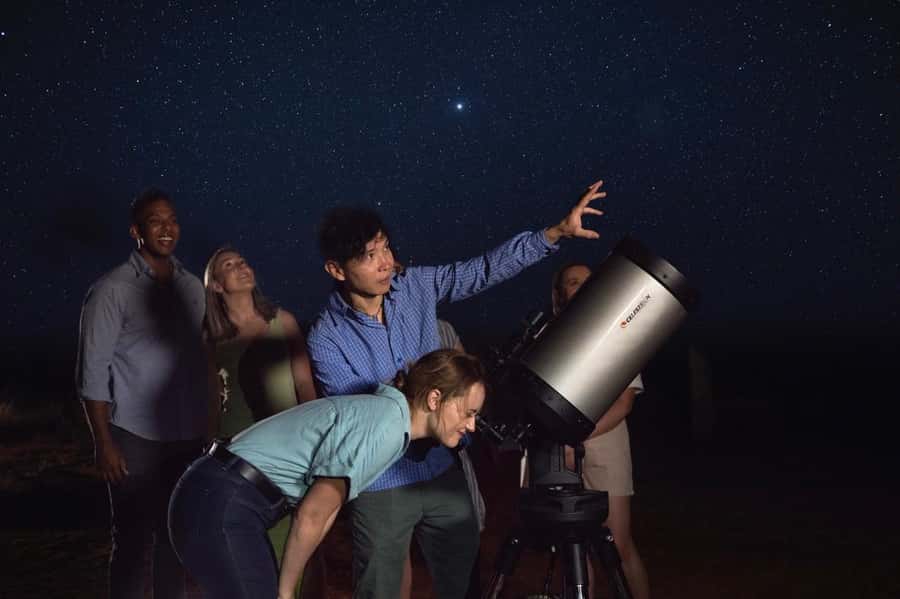
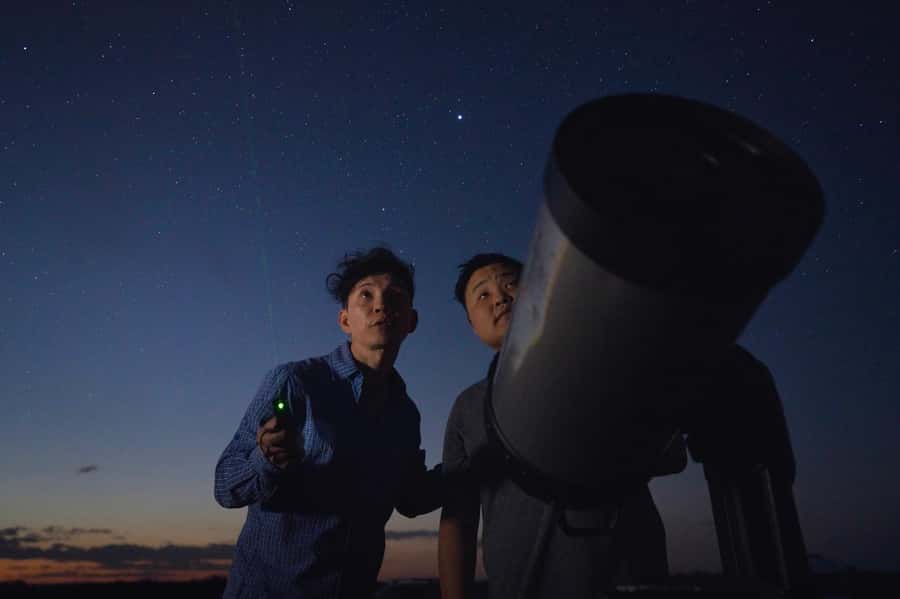
You’ll start with guided stargazing using lasers to point out what’s in the sky. That’s a practical touch. Instead of squinting and hoping, you get help finding targets, then you can look at the real thing while the guide explains what you’re seeing and when to expect it. This is also where the tour adds an indigenous astronomy layer, tying star patterns to cultural understanding rather than treating the sky like only a science lecture.
A key timing detail: you’re not just looking once. The night is staged—sky talk first, then telescope time—so your eyes and brain stay engaged. You’ll finish with drop-off back to your hotel, so you don’t end up stranded in the middle of nowhere (even though the view might convince you to stay).
Telescope time at Uluru: turning points of light into real targets
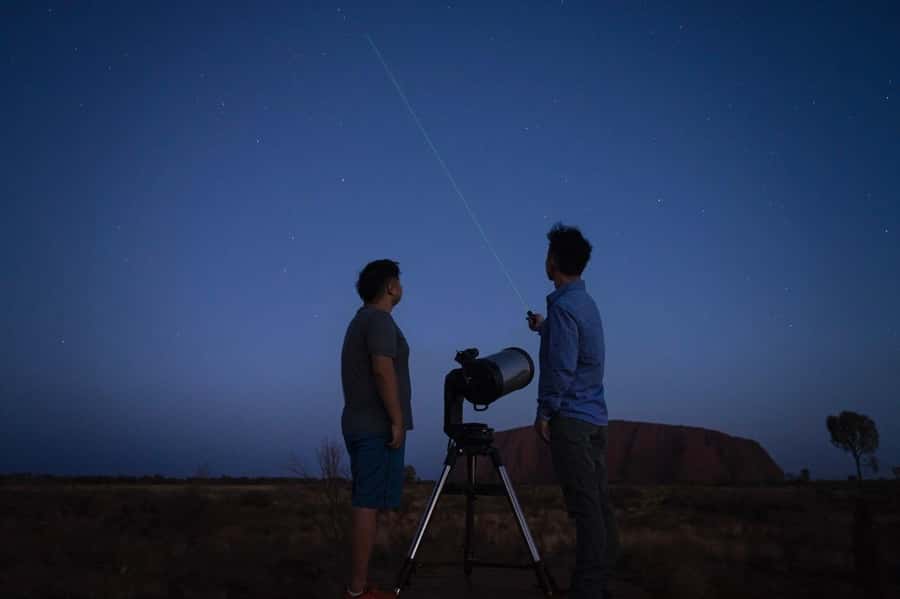
This tour’s biggest “wow” factor is the telescope session. The purpose is not just to say you used a telescope—it’s to show you objects that are hard or impossible to see with naked eyes.
From the information provided, you can expect to look at planets and deep-sky objects using high-strength telescopes and also binoculars. Reviews specifically call out Saturn, including the rings through the telescope. People also mention objects like star systems such as Alpha Centauri and even distant targets like Pluto (depending on conditions and what’s available for viewing that night).
Here’s what I think you should take away for your own planning: telescope time is the main upgrade over DIY stargazing in a dark place. Yes, the sky is stunning on its own—but the telescope session gives you structure. A planet doesn’t just look like a bright dot once you see what the instrument reveals. And deep-sky objects turn “nothing to see” into “wait… there it is.”
How to get your turn smoothly
There can be queues. One review notes significant waiting for the professional photo, and another mentions that having more telescopes could reduce time spent in line. So if you’re the kind of person who hates standing around, keep your expectations flexible. Bring a reusable water bottle, wear closed-toe shoes, and use the downtime to keep warm rather than worrying you’re missing the best views.
Indigenous astronomy talks: constellations with cultural meaning
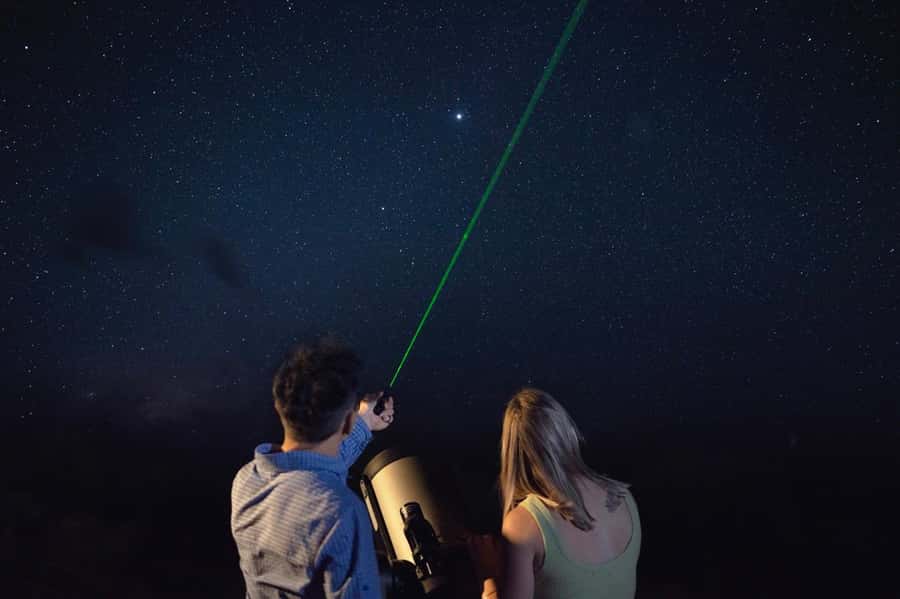
This tour doesn’t treat the night sky like a purely technical subject. Guides share indigenous astronomy alongside modern astronomy, and you’ll get that through laser pointing and story-based explanations that connect the star patterns to lived knowledge.
What I like about this approach is that it makes the sky feel usable. You’re not only learning names; you’re learning why the patterns matter. When guides explain how people in the region have long observed the sky, the constellations stop being trivia and start being a way of reading the landscape.
If you’re worried about the talk being too technical, don’t. In reviews, people describe it as a mix of entertainment, humor, and clear explanations, with guides answering questions as the night goes on. You can lean beginner. You can still ask more advanced questions if you want. That flexibility is part of the tour’s value.
The professional photo under Uluru: what you’re really paying for
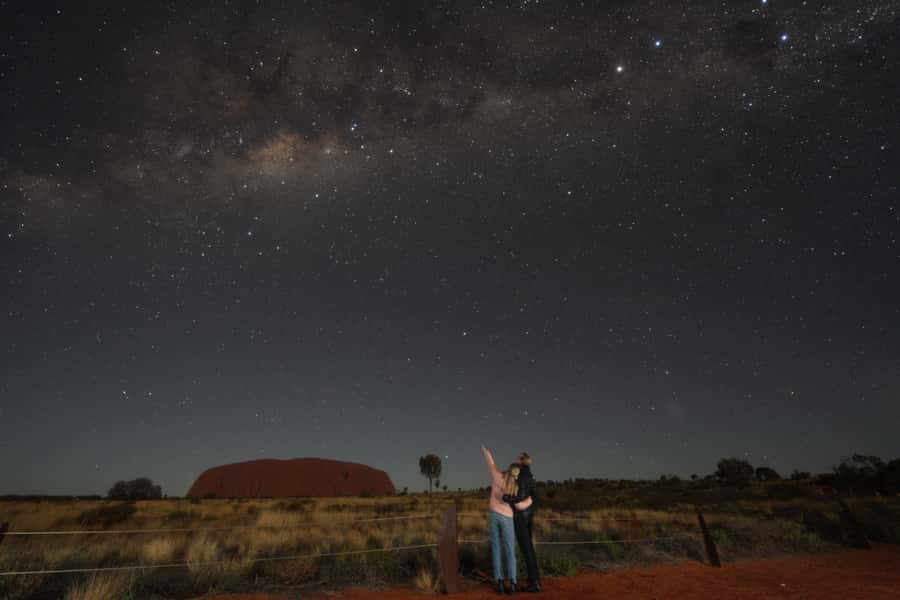
The included photo is the “cherry on top” for many people, and it’s more useful than it sounds. You’re not just getting a random selfie at twilight. The tour takes a professional digital photograph with Uluru and the star field as the backdrop, using a longer-exposure style approach.
This matters because your phone will struggle in low light. A guide may also help with phone settings for night-sky photos, but the included picture removes the guesswork. The result is a keepsake you can download later—exactly the kind of souvenir you’ll actually want to print or frame.
One practical caution: the photo can take time. At least one review mentions waiting 45 to 60 minutes for the photo session. That doesn’t ruin the tour, but it can change how you feel about the final stretch. Go in knowing you might be in line, so pack patience with your warm layers.
Tips to improve your own shots (optional, but worth it)
If you’re into astrophotography, you’re invited to bring your own camera and tripod. That gives you control over settings and timing. If you don’t bring equipment, still take a few minutes to learn what the guide suggests for your phone. Even basic adjustments—like how long the phone lets light gather—can be the difference between a dark blur and a recognizable star field.
What to pack for an outback stargazing night (warmth is not optional)
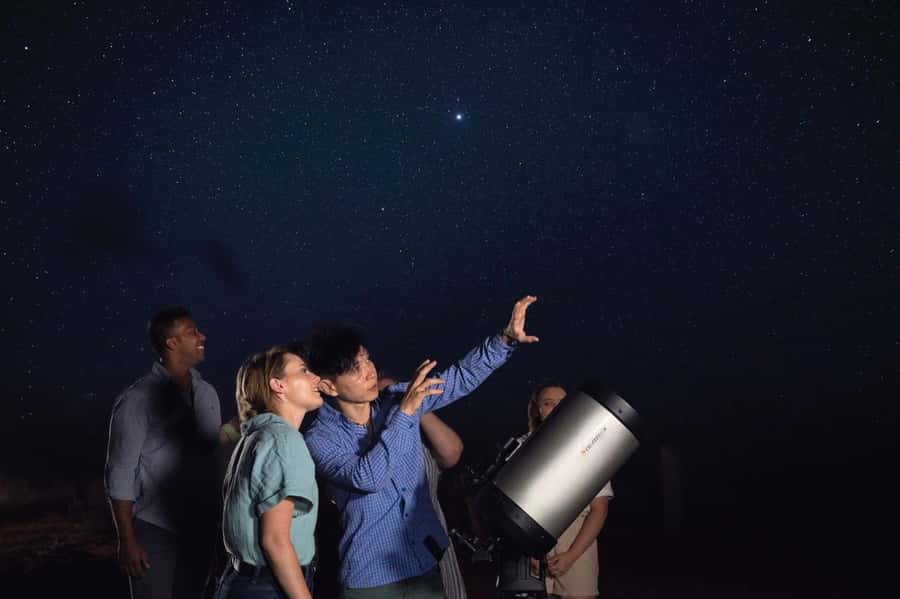
You’re out in the Northern Territory at night. That means temperatures can drop fast, even when daytime feels warm. The tour advice is clear: bring warm clothing, closed-toe shoes, and a reusable water bottle.
Reviews add a real-world detail: you’ll likely have access to blankets and small seating like folding stools or similar options at the viewing spot. Still, don’t rely on blankets alone. If you run cold easily, layer like you’re planning for a chilly evening, not a mild one.
If you’re thinking about camera gear, also remember that handling gear with frozen fingers is annoying. A small extra layer for your hands can save your whole night. Closed-toe shoes help you stay comfortable while you stand or shuffle between telescope positions.
Price and timing: is $91 good value for Uluru astronomy?
At $91 per person for about 150 minutes, the value comes from what’s included: tour guide time, pickup and drop-off, telescope usage, and a professional digital photo.
If you tried to recreate this alone, you’d pay for transport, you’d need to find a truly dark viewing spot, and you’d still have to solve the telescope and photography problem. The tour bundles the hard parts. You also get the interpretive layer—someone pointing things out and explaining what you’re actually looking at. That’s not fluff. It makes the whole session less random and more satisfying.
So for me, the price makes sense if:
- you want telescope views without renting or traveling with equipment
- you value the pro photo as a real souvenir, not an afterthought
- you want guided learning that mixes science with indigenous astronomy
It might be less of a deal if you already have astro gear and you’re the type who prefers total solitude. But for most visitors, the included photo and telescope access are exactly what turns a pretty sky into a standout memory.
Small drawbacks to plan for: Moonlight and lines
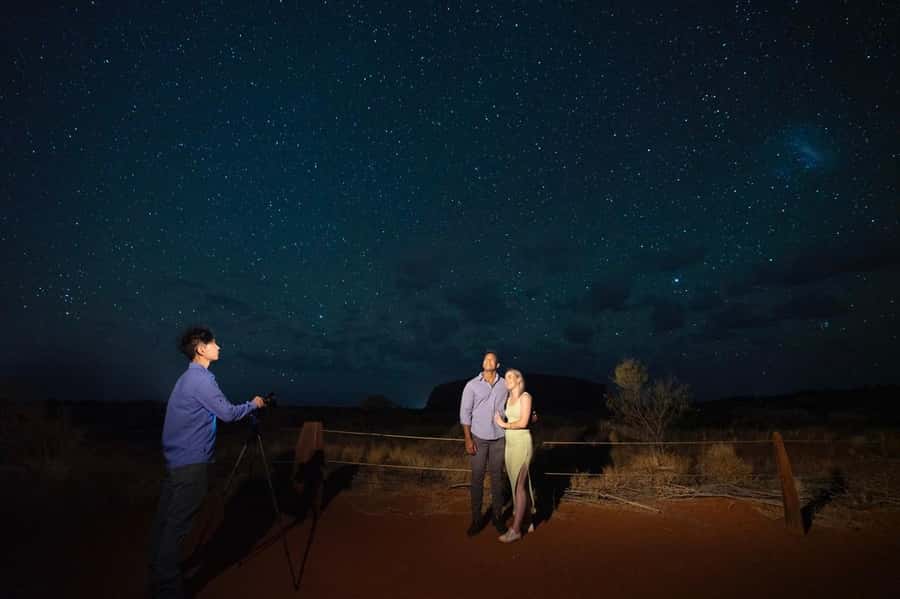
This tour is built around observing. That means conditions can affect results. One review highlights that a first-quarter Moon reduced how many stars they could see, because the sky got brighter. That’s a real consideration. If the Moon is up, the Milky Way and faint details won’t pop as hard.
Group size and timing can also change your experience. One review mentions that the telescopes were limited compared to the number of people, leading to waiting. Another mentions a long wait for the photo. If you’re sensitive to queues, it helps to remember you’re trading a bit of efficiency for shared, guided access to professional equipment and a pre-planned program.
Finally, the night can start with weather uncertainty. One person reports it was cloudy at the beginning but still turned into a great stargazing experience. You can’t control the sky. You can only control your clothing, your patience, and how you set expectations.
Who should book this Uluru astronomy tour, and who might skip it
This is a strong choice if:
- you’re curious about the southern sky and want help finding objects
- you want telescope viewing without worrying about equipment setup
- you like guided storytelling and constellations with cultural context
- you want a professional keepsake photo with Uluru at night
I’d also say it’s family-friendly in spirit. One review describes a teenager loving it as a top Australian activity. If you bring kids, the laser pointing, the telescope reveals, and the “look and learn” structure usually work well.
You might want a different plan if:
- you hate waiting in lines and want maximum one-on-one time with telescopes
- you’re only chasing the faintest astrophotography details and want total control over shooting
- you’ll be disappointed if a bright Moon limits how many stars you can see
Should you book Uluru National Park Astronomy with Telescope and Photo?
If you want an outback night sky experience that mixes guided sky reading, actual telescope views, and an included pro photo, then yes—this is an easy recommendation. The low-light setting around Uluru and Kata Tjuta is the foundation, and the telescopes plus guided interpretation are the upgrade that makes the night feel purposeful.
Just go in prepared for two things: temperatures can be chilly, and the night may feel busy at the photo stage depending on turnout. If that doesn’t bother you, you’re likely to leave with that rare feeling—looking up at something big, and finally understanding what you’re seeing.
FAQ
How long is the Uluru astronomy tour?
The tour duration is 150 minutes. That includes the guided experience, telescope usage, and the included professional photo session, with pickup and drop-off provided.
Is pickup and drop-off included?
Yes. Pickup is included from your accommodation, and you’ll also get drop-off back to your hotel after the tour. On pickup day, you should look for the bus with the name Atrip, and the schedule is emailed to you.
What does the tour include besides stargazing?
You get telescope and binocular usage, a guided experience, and an included digital professional photograph taken with the star-filled sky and Uluru as the backdrop.
Do I need a National Park Pass for this tour?
No. The tour notes that you do not need to bring a National Park Pass.
What languages are the guides?
The live tour guide is available in English and Chinese.
What should I bring to the tour?
Bring warm clothing, closed-toe shoes, and a reusable water bottle.
If I want to take my own astrophotos, can I bring gear?
Yes. If you love astro-photography, the tour suggests bringing your own camera and tripod so you can take your own shots during the night-sky time.
Is there a cancellation option and flexible booking?
Yes. The tour offers free cancellation up to 24 hours in advance for a full refund. It also offers a reserve now & pay later option, so you can book your spot without paying immediately.