REVIEW · TORREY UTAH
Capitol Reef National Park: Cathedral Valley Day Trip
Book on GetYourGuide →Operated by Meridian Photography tours and more · Bookable on GetYourGuide
One of Utah’s toughest-to-reach views is right here. I like how this tour turns Cathedral Valley into a guided photo and geology day, and I especially love the chance to see Bentonite Hills and the Sun-and-Moon monoliths without wrestling a rental car. The one drawback is the route can be rough and water-dependent, so conditions can change the plan.
You’ll get picked up in the Torrey/Teasdale area, ride in a super-capable SUV/Jeep (look for MERIDIAN letters), and spend the day focused on what makes this corner of Capitol Reef special: deep geologic time, off-road access, and views timed for the best light. I also appreciate the human factor—guides like Mel and Jenny bring the story to life and will stop for photos when you ask.
In This Review
- Key highlights that make this day trip worth planning
- Why Cathedral Valley looks different from every other Utah drive
- Pickup, vehicle comfort, and why timing matters
- Into the Fremont River: the moment the tour earns its name
- Overlooks and the first layers you’ll actually remember
- Bentonite Hills: the photo stop you can’t fake with a rental car
- Lower South Desert Overlook: monolith views with Goblin-like foregrounds
- Upper South Desert Overlook road: the “360” feeling with real height risk
- Lunch and bathroom timing: when you’ll want a quick reset
- Down the switchbacks into Cathedral Valley and the Walls of Jericho
- Optional hiking add-ons that change the view
- Gypsum Sinkhole and pronghorn odds
- Temple of the Sun and Temple of the Moon: when color finally hits
- Optional Temple of the Stars hike for a different horizon
- Final hour back toward Mancos Shale ridges and ocean-time Utah
- Price and value: why $250 can feel fair (or not)
- Who this tour fits best
- Should you book this Cathedral Valley day trip?
Key highlights that make this day trip worth planning
- A river ford that actually gets you into the action before you even reach Cathedral Valley.
- Bentonite Hills with drone-friendly viewing, since you’re outside park boundaries for key moments.
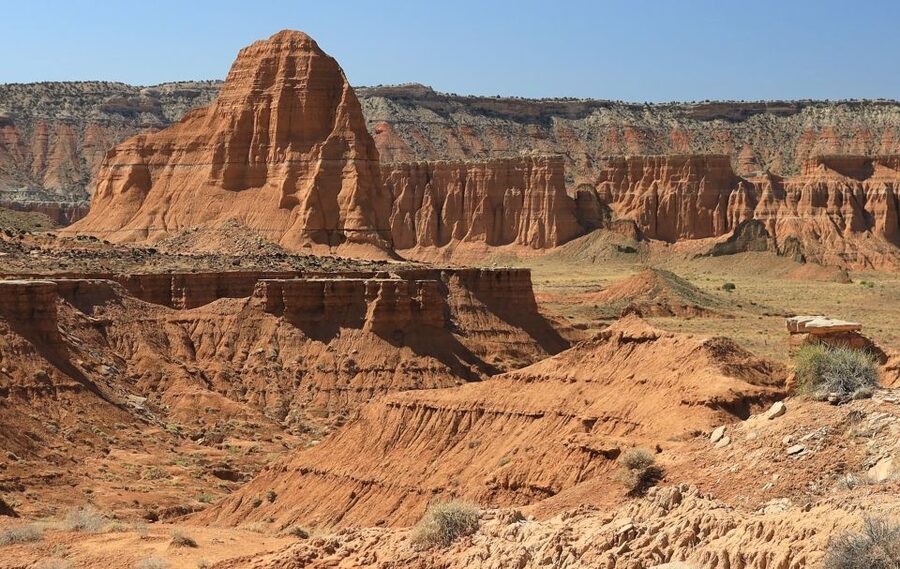
- Temple of the Sun and Temple of the Moon at peak color, when the monoliths get that postcard glow.
- Multiple short walks (from easy strolls to optional longer hikes) that help you see the formations from new angles.
- Photography support, including tips that help you frame monoliths and even fly drones safely.
- A private-group feel, where the day often doesn’t feel like a hurried checklist.
Why Cathedral Valley looks different from every other Utah drive
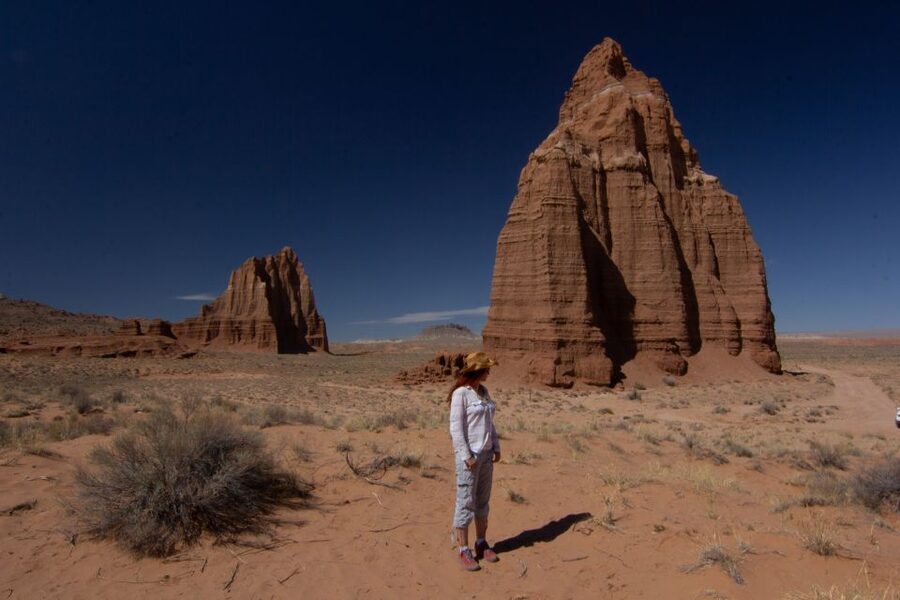
Cathedral Valley is the kind of place where the ground looks wrong—in a good way. You’re not just looking at red rocks. You’re looking at layers, intrusions, and old sea floors that got flipped, tilted, and exposed over vast time. The tour is built around seeing that story unfold as the terrain shifts from one formation type to another.
I love that the stops connect visually. You’ll see bentonite clay where conditions matter, then later you’ll be walking around Glass Mountain’s crystal-like structure, then back toward features tied to other formations like Gypsum Sinkhole. Even if you don’t care about geology, the relationships make the scenery feel more meaningful.
Pickup, vehicle comfort, and why timing matters
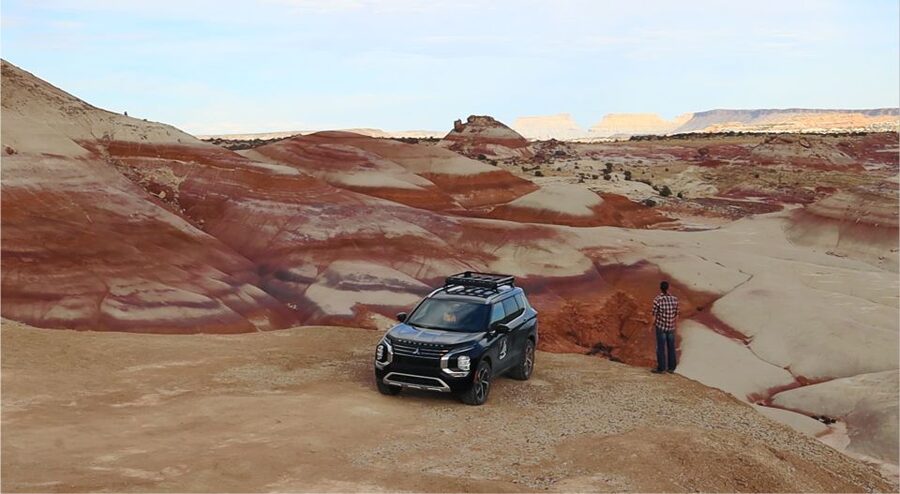
This is a half-day tour that runs about 4 to 6 hours, and you’ll start with hotel pickup within the Torrey and Teasdale areas only. You’ll be riding in a vehicle used for serious access, and it helps that riders consistently note comfort, cleanliness, and smooth handling on rough terrain.
You also get a practical rhythm: scenic driving, photo stops, short guided walks, and a bathroom break around the halfway point. If you choose lunch, it’s handled as a 30-minute stop with a sandwich you help customize ahead of time (plus a soft drink from a list). That’s useful because this isn’t a quick pull-off kind of outing.
One small planning note: you’ll want good hiking shoes. The route includes easy walks, plus optional add-ons, and you’re moving over uneven desert ground.
Into the Fremont River: the moment the tour earns its name
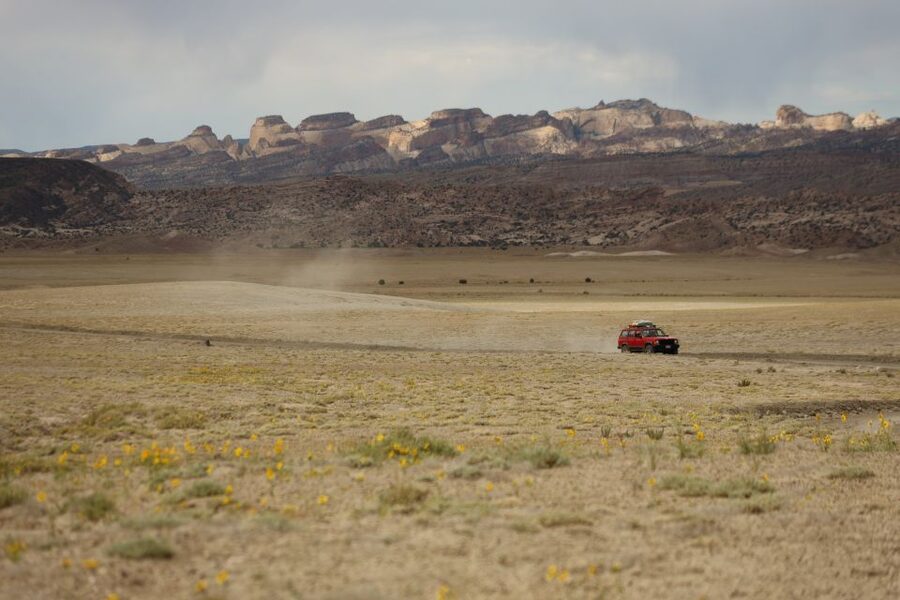
The most dramatic start is the Cathedral Valley Loop beginning with a river crossing. You’ll drive into the Fremont River area that carved the canyons and valleys here. The ride notes it can get “bumper deep” for some riders, but the vehicle is meant to handle it.
What I like about this part is that it’s not just thrill for thrill’s sake. It changes how you experience the valley. You’re literally getting to the terrain that normal road access can’t reach, and it helps explain why the loop feels so remote.
Overlooks and the first layers you’ll actually remember
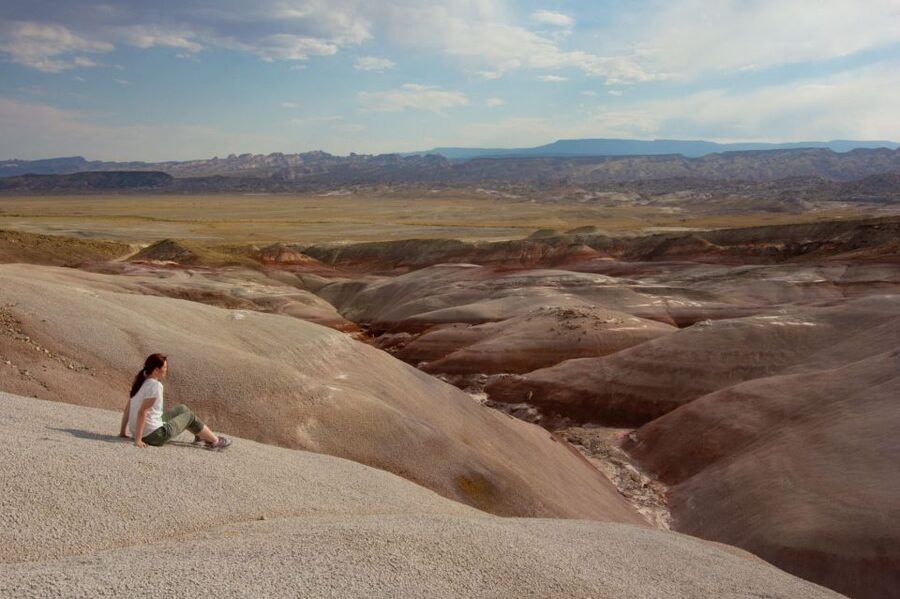
Right after the crossing, you get an overlook that introduces the idea of geologic layering around you. From there the day shifts toward early journey deposits, including Jurassic-era bentonite. This is where the guide’s explanations help you look with intention instead of just staring at shapes.
You’ll also stop at a historic water well out in the desert. It has an abandoned drilling rig still visible from the 1940s. It’s one of those details that makes the setting feel lived-in by time, not just shaped by deep time.
Bentonite Hills: the photo stop you can’t fake with a rental car
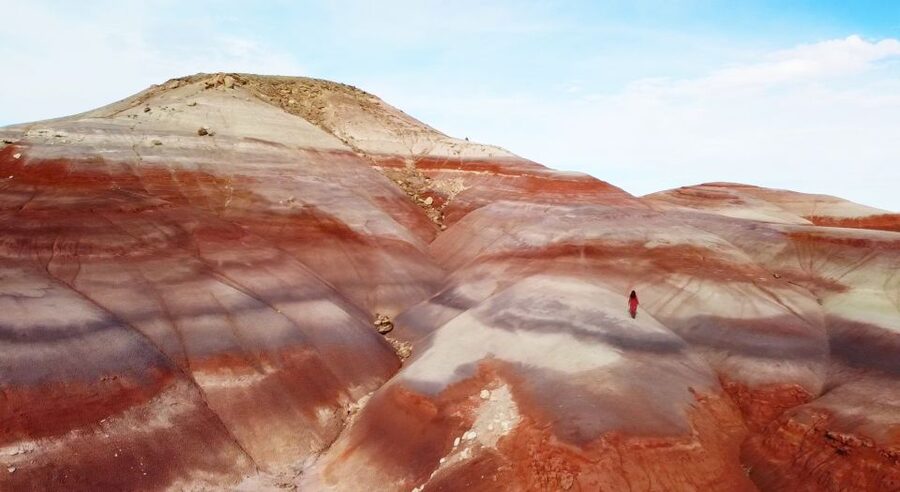
The Bentonite Hills are what people picture when they think of Cathedral-area surreal clay. The tour includes the famous drive through the bentonite terrain, which is described as richly colored and otherworldly. It’s also exactly why a rental car often doesn’t work—when it’s wet, it can be impassible.
If you’re into photography or drone work, this is your big moment. Drones are specifically called out as welcome here because key portions happen outside national park boundaries. And if you don’t have a drone, the team can bring one for an extra fee, so you’re not locked out of the shot.
Even if you just hold up a phone, this is where your best panoramas come from. The guide also sets you up for that with time at key overlooks where you can use panorama mode and capture monoliths in context rather than as isolated icons.
Lower South Desert Overlook: monolith views with Goblin-like foregrounds
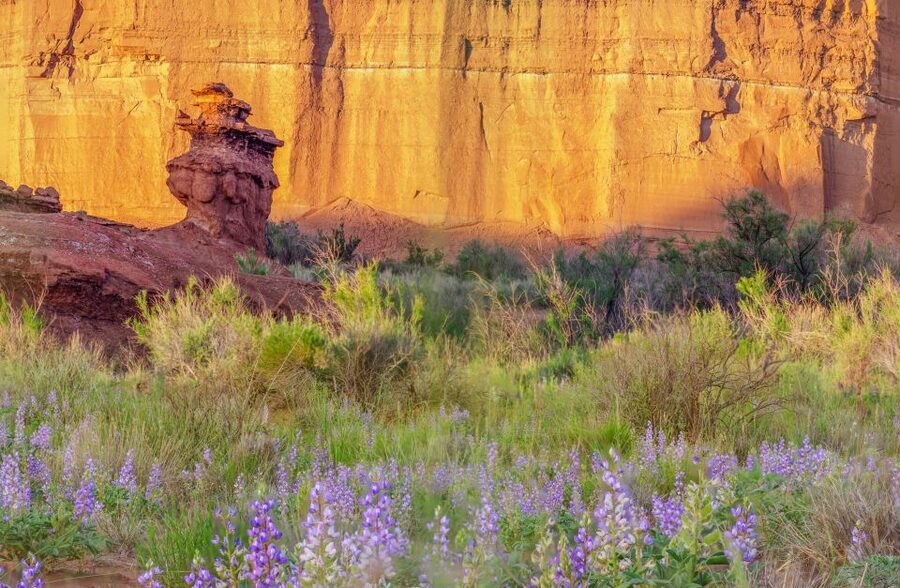
Next, you’ll get to the Lower South Desert Overlook, which is framed as your first clear look at Entrada Sandstone monoliths. You’ll photograph Jail House Rock, and you’ll also notice Curtis formation shapes around you that are described as goblin-like.
A practical tip: this is a stop where you’ll want to think about light and composition, not just click. Since you’re high enough for wide views, try a panorama and then get a tight shot afterward. That way you leave with both a story-wide image and a detail shot you can zoom later.
There’s also the option of a short out-and-back hike (about long enough to be worth it) to see the Temples of the Sun and Moon from a bird’s-eye angle. If you like walking for photos, this is an easy way to get a different perspective without committing to the longer later hikes.
Upper South Desert Overlook road: the “360” feeling with real height risk
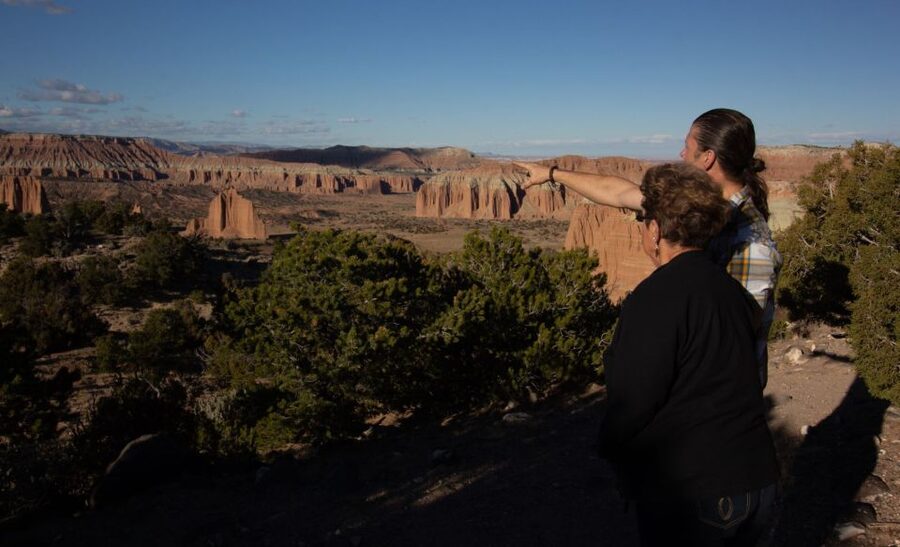
The Upper South Desert Overlook Road gives you more elevated views and multiple panoramas. Lower positions help you spot igneous intrusion elements seeping through surrounding strata, while higher spots give a 360-degree feel across lower and upper desert.
The key caution is height. The route is described as having dramatic drops on both sides, so it’s not for anyone who panics around exposure. I’d treat this as the moment to decide if you’re comfortable stepping out for photos, or if you’d rather stay closer to safer spots.
Lunch and bathroom timing: when you’ll want a quick reset
At about the halfway mark, there’s a park-provided toilet stop. If you want lunch, you’ll have a 30-minute break where you can choose sandwich ingredients ahead of time and pick a soft drink from the available list.
This matters because the day includes enough walking and enough driving that you’ll feel better after a proper reset. I also like that this isn’t a long sit-down meal situation. You’re back on the move with energy for the main Cathedral Valley descent.
Down the switchbacks into Cathedral Valley and the Walls of Jericho
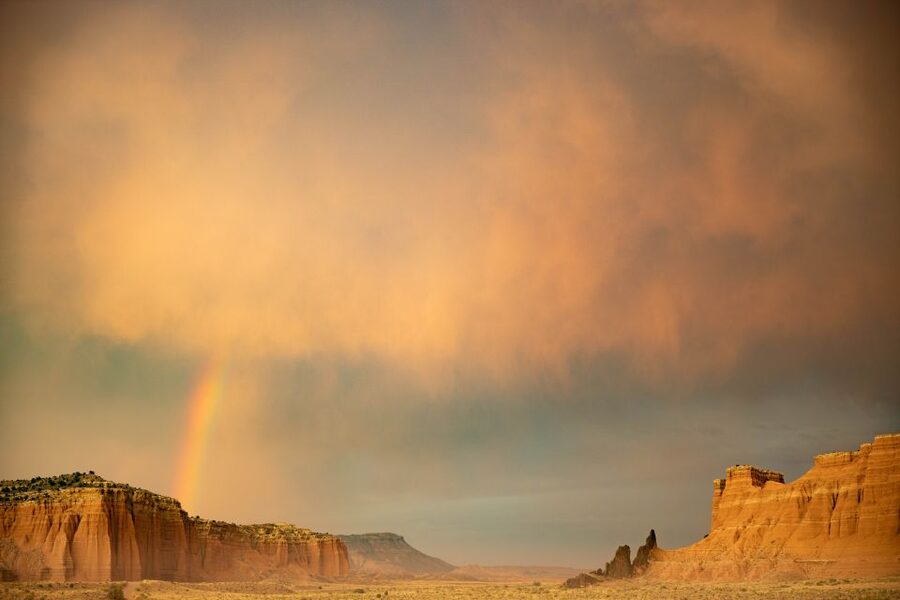
As you descend into Cathedral Valley, the route becomes a series of switchbacks with iconic monolith views. The Walls of Jericho are called out as a must-stop photo location—so expect frequent stops, and expect to step out for at least a few angles.
You’ll also see the Morrel Cabin, described as a historic structure. There’s an easy hike option that takes you to what’s left of a circa 1940s cowboy camp, including artifacts. This is the part where the desert starts to feel human-sized again: the same land that took millions of years to shape also hosted people trying to make a living there.
Optional hiking add-ons that change the view
If you want to get closer to the Walls, there’s an optional about 2-mile hike for an extra fee. If that’s too much, there’s also a shorter 1/4-mile hike just past the Walls to see massive sandstone pillars and get a different perspective on the multiple rows.
Either way, the main idea is simple: you’ll see the same structure from different distances. That’s what makes the photos look better later, because you can compare wide context shots with close-up texture.
Gypsum Sinkhole and pronghorn odds
Next comes Gypsum Sinkhole, and the tour adds a nice nature bonus: you might spot pronghorn antelope around this area. That’s not a guarantee, but it’s one of those practical reminders that the day isn’t only about rock formations.
Geologically, the driving between stops changes again. You’ll move through areas with Entrada sandstone and igneous intrusions dissecting the valley, giving you that feeling of switching planets. When the terrain keeps changing, you stay alert, and the day doesn’t turn into one long red-rock blur.
Temple of the Sun and Temple of the Moon: when color finally hits
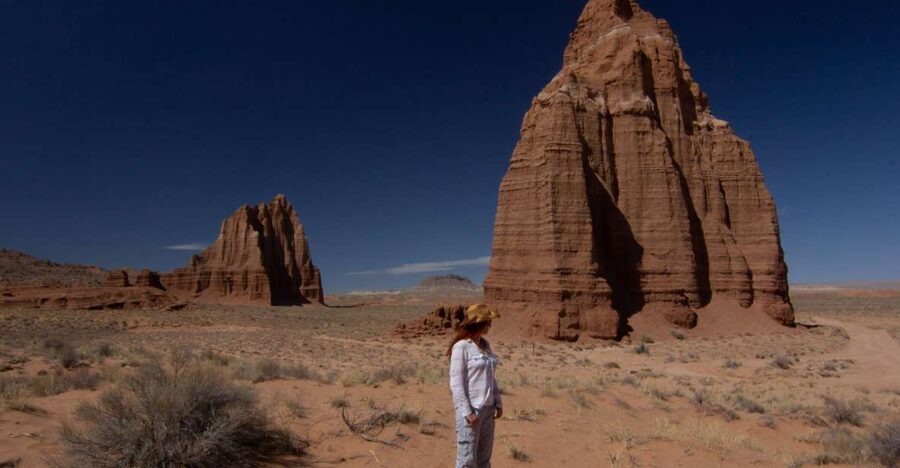
This is the centerpiece: Temple of the Sun and Temple of the Moon. You’ll have the longest stop here, and you’re not only there to pose. You’ll also walk around Glass Mountain, which is described as a lattice of crystals.
The guide also ties Gypsum Sinkhole earlier in the day to what you’re seeing now, with the historic geologic connection explained. Even if you skip the extra hikes, this stop is where the whole story clicks into place.
Timing is a big deal. The monoliths look best when the sun rays light them, boosting the red-orange saturation. The tour description also notes it can work from both morning and afternoon starts, but either way, you’re aiming for that hour when light does the heavy lifting for your photos.
Optional Temple of the Stars hike for a different horizon
For an extra fee, you can add a special viewpoint that mixes three sets of features into one wide panorama: Temples of the Sun, Moon, and Temples of the Stars. The hike is described as easy but lengthy, about 45 minutes one-way, and it pulls you away from the most typical postcard angles.
I like this option because it’s not about doing more walking for its own sake. It’s about changing your viewpoint so the “same” monuments look like part of a bigger constellation. If you’re the type who enjoys trading comfort for unique photos, this is the add-on that makes a real difference.
Final hour back toward Mancos Shale ridges and ocean-time Utah
After the main monuments, the remaining time is about color and more bentonite formations, with views approaching Mancos Shale ridges. The tour frames these layers as evidence that Utah was once the bottom of not one but two oceans.
It’s a lot to process in one day, but that’s exactly what a guided loop helps with. You’re not learning geology from a book. You’re walking through it, then watching it fade into the next formation type.
At the end, you’ll reach the highway and return to your hotel area in about 30 minutes, which keeps dinner plans realistic. This matters because the day can feel full. You won’t want to add a long drive after.
Price and value: why $250 can feel fair (or not)
At $250 per person for a 4 to 6 hour private group, you’re paying for three things: access, guidance, and photo-friendliness.
Access is the big one. The day includes a river crossing and reaches places that standard vehicles usually can’t touch. The vehicle and route planning reduce the chance you waste hours stuck in rough terrain or forced to turn back.
Guidance is the second. Guides like Mel and Jenny are repeatedly praised for being on time, courteous, and intensely engaged with the geology and local story. They also adjust the day based on what you want to see—like stopping for pictures on request—and some riders note guides can even shift timing for better light.
Third is photo support. The bentonite section is drone-friendly, and guides offer framing tips. Riders also mention getting help with taking pictures and where to fly a drone, which is hard to replicate if you’re driving yourself.
Is it worth it? If you want a route you can’t reasonably DIY without off-roading stress, and you care about getting the best angles, it usually makes sense. If you only want a quick scenic drive and don’t care about geology or close-up monolith views, you may feel the price more.
Who this tour fits best
This day trip is best for people who enjoy short hikes, photo stops, and learning while moving. It’s designed for active adults, and it’s not set up for slow, flat strolling.
It is not suitable for:
- children under 10
- pregnant women
- people with back problems or heart problems
- wheelchair users
- visually impaired people
If you have mobility concerns, think hard about the switchbacks, uneven desert ground, and the dramatic exposure near the Upper South Desert Overlook.
Should you book this Cathedral Valley day trip?
If your priority is Cathedral Valley views with the easiest path to the hard-to-reach spots, I’d book. The river crossing, Bentonite Hills drive, Temple of the Sun and Moon timing, and the option to add extra viewpoints on foot are a strong mix for one half-day.
I’d also book if you care about photography and want practical help with framing, panoramas, and drone use. The fact that drones are welcome for key parts of the route is a genuine advantage.
Skip it only if you’re uncomfortable with rough terrain, exposure, or a plan that may change with conditions. The tour notes weather and terrain can lead to modification, rescheduling, or cancellation, and weather can be judged unilaterally by the provider even if apps suggest otherwise.
If you want, tell me when you’re traveling (month) and whether you have a drone. I can help you decide how to prioritize the optional hikes and where you’ll likely get the best light.